What Happens During a Heat Pump Installation?
Boiler out, heat pump in, heating back on within days. That is the process in a nutshell, but knowing the details makes the experience far less stressful. If you have never had a heat pump installed, questions race through your mind: What exactly do the installers do? How messy is it? When does the old boiler come out? When does the heating come back on?
This guide answers all of those questions with a detailed, day-by-day walkthrough of a typical air source heat pump installation in a UK home. Every installation is slightly different depending on your property, the system being fitted, and the approach of your MCS-certified installer. But the core stages are consistent.
Ready to get the process started?
Get free quotes from local installersCompare up to 3 quotes from MCS-certified installers in your area.
Before the Installers Arrive
The work starts before anyone sets foot in your house. Your installer will have already completed a detailed heat loss survey, designed your system, and ordered all the equipment. Before installation day, you should:
- Clear furniture away from any radiators being replaced
- Clear the area outside where the heat pump unit will be placed
- Make space for the hot water cylinder location (usually an airing cupboard or utility room)
- Move anything fragile or valuable away from work areas
- Lay down dust sheets if you are particular about your floors (though good installers bring their own)
- Make sure there is somewhere for the team to park close to the house
For a printable version you can tick off as you go, see our installation checklist.
Day 1: Removing the Old System
The team typically arrives between 8:00 and 8:30am. On a standard installation, day one is all about clearing out the old and preparing for the new.
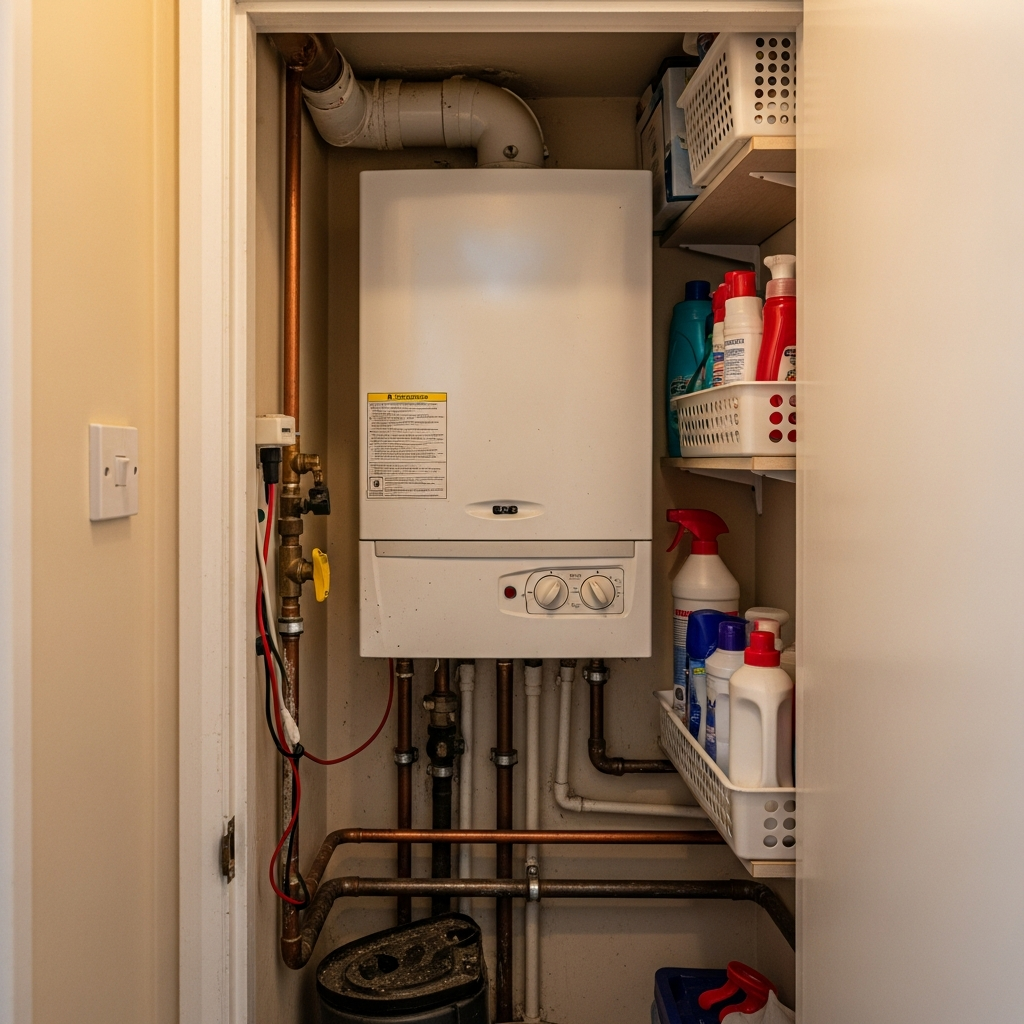
Morning: Boiler removal
- The existing heating system is drained down
- The boiler is disconnected from gas, water, and electrics
- The boiler (and header tanks if you have a traditional system) are removed
- Gas supply is capped off safely
Afternoon: Preparation work
- The outdoor base or concrete pad is prepared (if not done in advance)
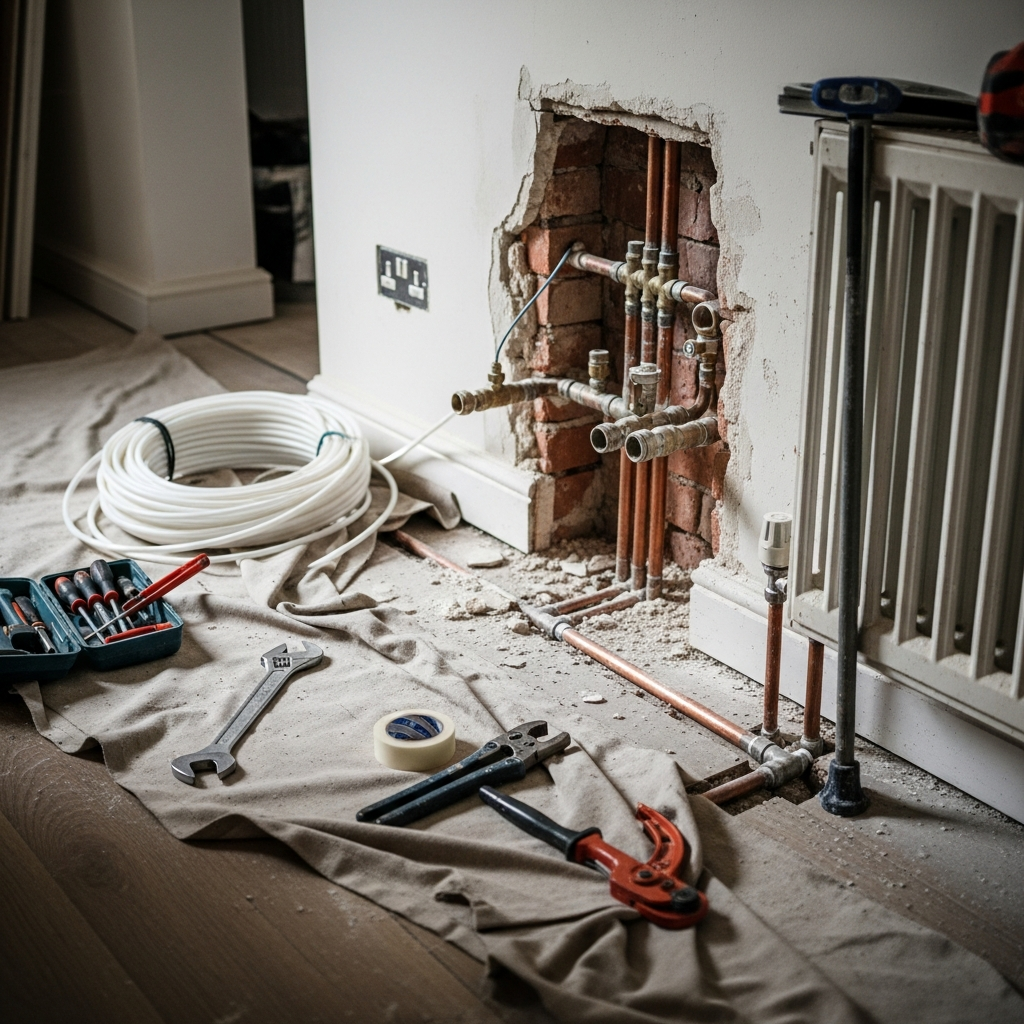
- A core hole is drilled through the external wall for the pipework connection
- New pipework routing begins from the outdoor unit location to the indoor system
- Any pipework modifications start inside the house
Important: From the moment the old boiler is disconnected, you will have no central heating or hot water. If the installation is in winter, have electric heaters and a kettle ready. An electric shower will still work normally.
Day 2: Installing the New System
Day two is the busiest day. This is when the new hardware goes in.
The outdoor unit
The heat pump unit is carefully positioned on its base, levelled, and secured with anti-vibration mounts. It is connected to the insulated pipework that runs through the wall to the indoor system. The positioning follows the design plan agreed during the survey stage.
The indoor components
- The hot water cylinder is installed in its designated location
- Internal pipework is completed, connecting the heat pump to the cylinder and heating circuit
- Any radiators being replaced are swapped for correctly sized units
- A buffer tank is installed if the system design requires one
Insulation and finishing
All pipework between the outdoor unit and the house is heavily insulated to prevent heat loss and condensation. This is a detail that separates good installations from poor ones — ask your installer to show you the insulation quality before it is covered up.
Wondering what your installation will involve?
Get a personalised estimateThe calculator factors in your property type and heating requirements.
Day 3: Electrical Work and Testing
Day three focuses on the electrical connections and getting the system ready to run.
Electrical connection
- A dedicated electrical circuit is run from your consumer unit to the heat pump
- The heat pump is wired and earthed according to manufacturer specifications
- If your consumer unit needs a minor upgrade, that happens now
System filling and testing
- The heating circuit is filled with water and pressurised
- Every joint and connection is checked for leaks
- The system is flushed to remove debris
- Inhibitor is added to protect the system long-term
Controls installation
- Room thermostat and outdoor temperature sensor are fitted
- Smart thermostat integration (if specified)
- Zone valves wired in (for homes with multiple heating zones)
- Weather compensation curve programmed
Day 4: Commissioning and Handover
The final day is about verification and education. Your installer formally commissions the system to MCS standards and hands it over to you.
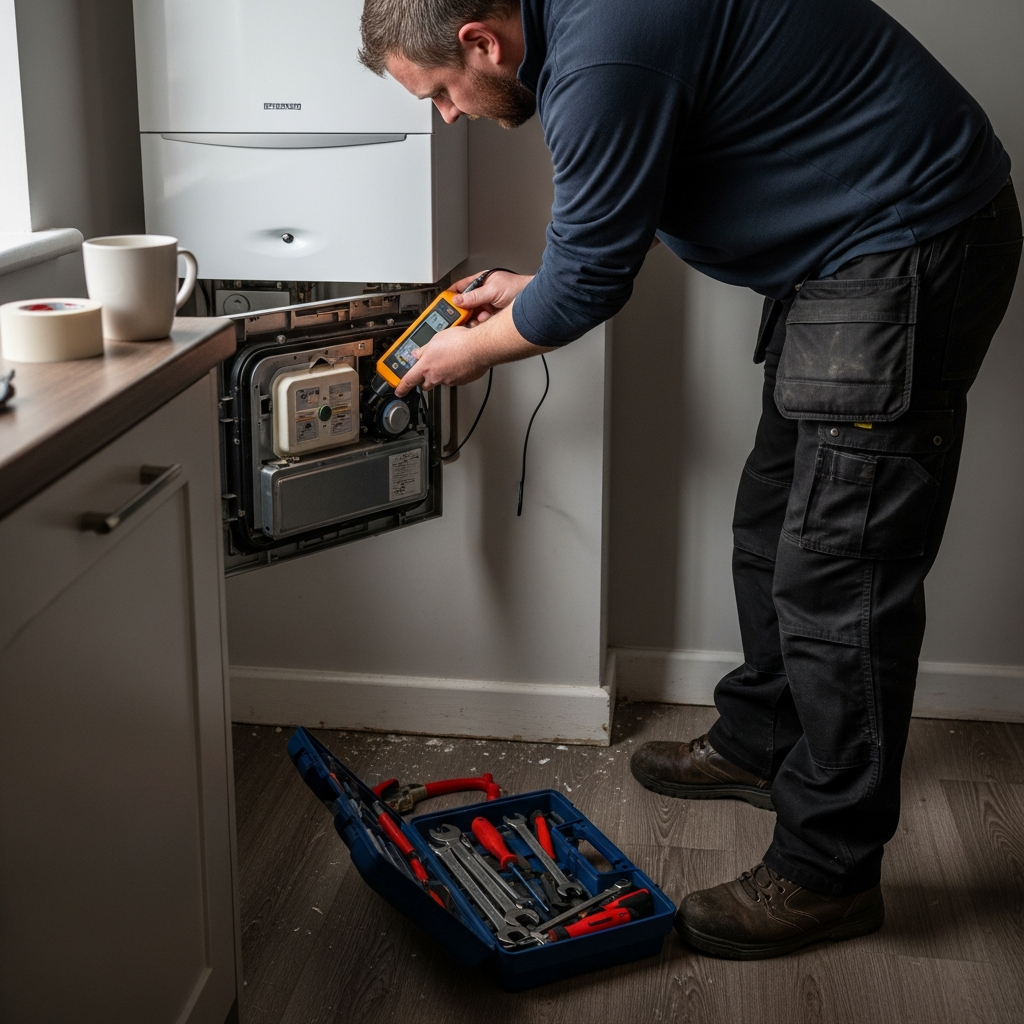
Commissioning checks
- Flow temperatures verified at design specification
- Each radiator checked for correct heat output
- Hot water cylinder tested to target temperature
- System pressures recorded
- Noise levels confirmed within limits
- All safety devices tested
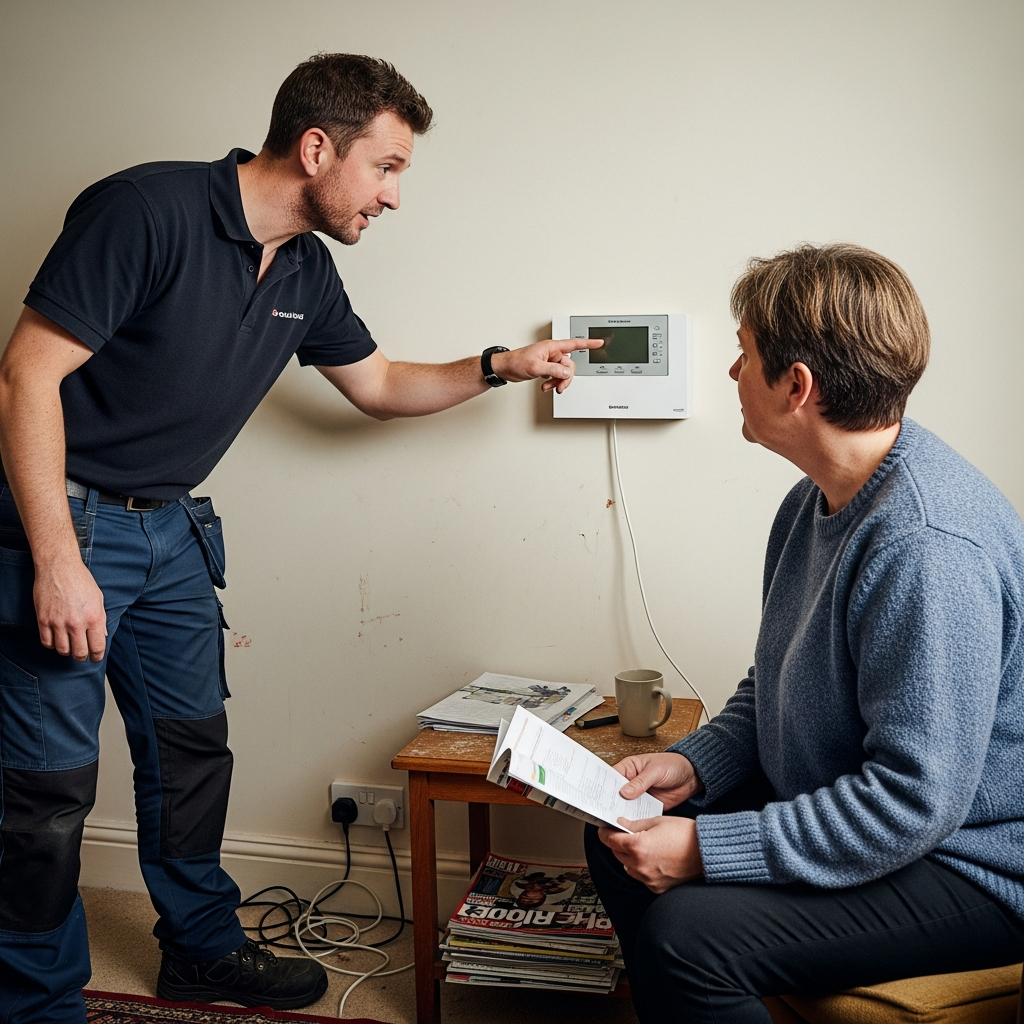
Handover
The installer walks you through the controls, explains the heating schedules, shows you how to check system pressure, and provides all documentation — including your MCS certificate, warranty papers, and commissioning record.
This is when your heating comes back on. Most homeowners report the moment the new system fires up and warm water starts flowing through the radiators as genuinely satisfying — especially if it is a cold day.
What Disruption to Expect
| Type of disruption | Duration | Severity |
|---|---|---|
| No heating or hot water | 2-3 days | Moderate |
| Noise (drilling, fitting) | Daytime only, 2-3 days | Moderate |
| Dust from wall drilling | Day 1 mainly | Low |
| Access restrictions (rooms) | Varies by room | Low |
| Garden disruption (ASHP) | Minimal | Low |
For a more detailed look at managing disruption, read our dedicated guide on heat pump installation disruption.
What Happens After They Leave
The first few weeks with a heat pump feel different from a boiler. Radiators will be warm rather than hot, the system will run for longer periods, and you may notice the outdoor unit going through defrost cycles in cold weather. All of this is normal.
Most installers offer a follow-up call or visit after two to four weeks to check everything is running well and tweak the weather compensation curve if needed. Take advantage of this — it is part of the service you are paying for.
If you are looking to maximise savings, consider pairing your heat pump with solar panels to generate your own electricity and offset running costs further.
Frequently Asked Questions
Do I need to be home during heat pump installation?
You do not need to be present every minute, but someone should be available on site or nearby. Installers may need access to different rooms and will have questions about preferences for cylinder location, thermostat positioning, and radiator placement.
Will the installers make a mess?
Good installers lay dust sheets and clean up daily. Expect some dust from drilling through walls, and possibly some plaster dust if pipework is routed through internal walls. The garden area around the outdoor unit may be muddy for a few days.
When does my heating come back on after installation?
Typically on day three or four, once the system is filled, pressurised, and commissioned. You will be without heating and hot water from when the old boiler is disconnected on day one.
What if something goes wrong during installation?
Reputable MCS-certified installers carry public liability insurance and are required to have a complaints procedure. Any issues discovered during installation — such as unexpected asbestos or structural problems — should be discussed with you immediately, with a clear plan for resolution.
Find trusted installers who do the job properly
Get free quotes todayAll installers are MCS-certified with verified track records.
About the Heat Pump Installation Process
The heat pump installation process in the UK follows a structured approach governed by MCS (Microgeneration Certification Scheme) standards. Every installation includes a heat loss survey, system design, equipment installation, and formal commissioning. The process typically replaces a gas or oil boiler with an air source or ground source heat pump, a hot water cylinder, and updated controls. The £7,500 Boiler Upgrade Scheme grant helps cover costs, and homeowners increasingly combine heat pumps with solar panel installations for maximum energy savings.