Heat Pump Installation Checklist: Before, During, After
Preparation is the difference between a smooth installation and a stressful one. The physical work of installing a heat pump takes two to four days, but what you do before, during, and after those days directly affects how smoothly everything goes.
This checklist covers everything — from weeks before the installers arrive to the final checks once they leave. Print it, tick it off, and you will be ahead of 90% of homeowners.
Starting your installation journey?
Get free quotes from MCS-certified installersCompare up to 3 quotes from vetted local installers — no obligation.
Weeks Before Installation
- Confirm your installer is MCS-certified (verify on mcscertified.com)
- Confirm the BUS grant voucher has been approved by Ofgem
- Check your EPC is up to date (required for the grant)
- Review and sign the installation contract
- Confirm installation dates with the installer
- Ask the installer which rooms they will need access to and when
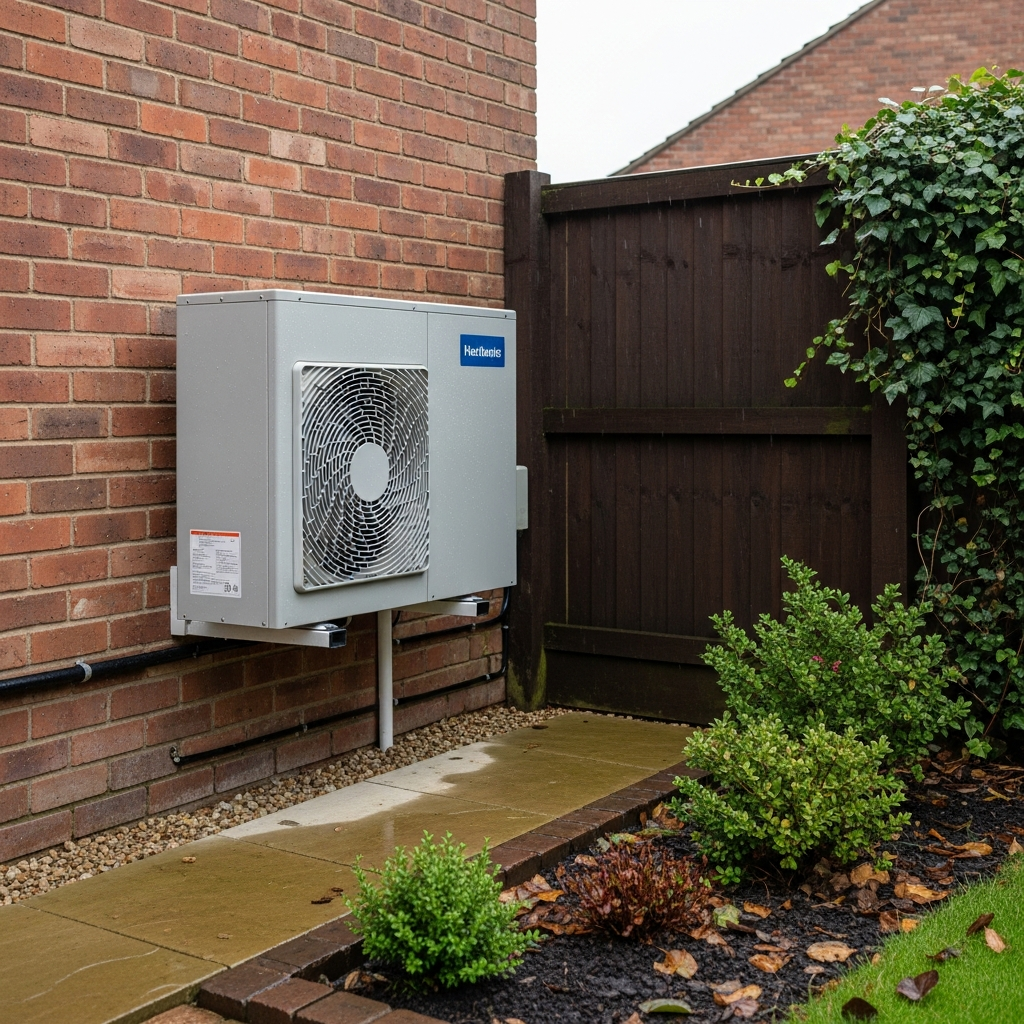
- Confirm where the outdoor unit will be positioned (placement rules)
- Confirm the hot water cylinder location
- Notify neighbours if the installation involves ground works or early starts
- If in a conservation area or listed building, confirm planning approval
The Day Before
- Clear furniture away from all radiators being replaced
- Clear the outdoor area where the heat pump will sit
- Ensure clear access paths through your home for the installation team
- Move fragile or valuable items away from work areas
- Ensure parking is available close to your home for the installation van
- Prepare for no heating or hot water: get electric heaters, extra blankets, and a kettle ready
- Note down your current meter readings
- Check the installation start time with your installer
During Installation
Day 1: Removal and preparation
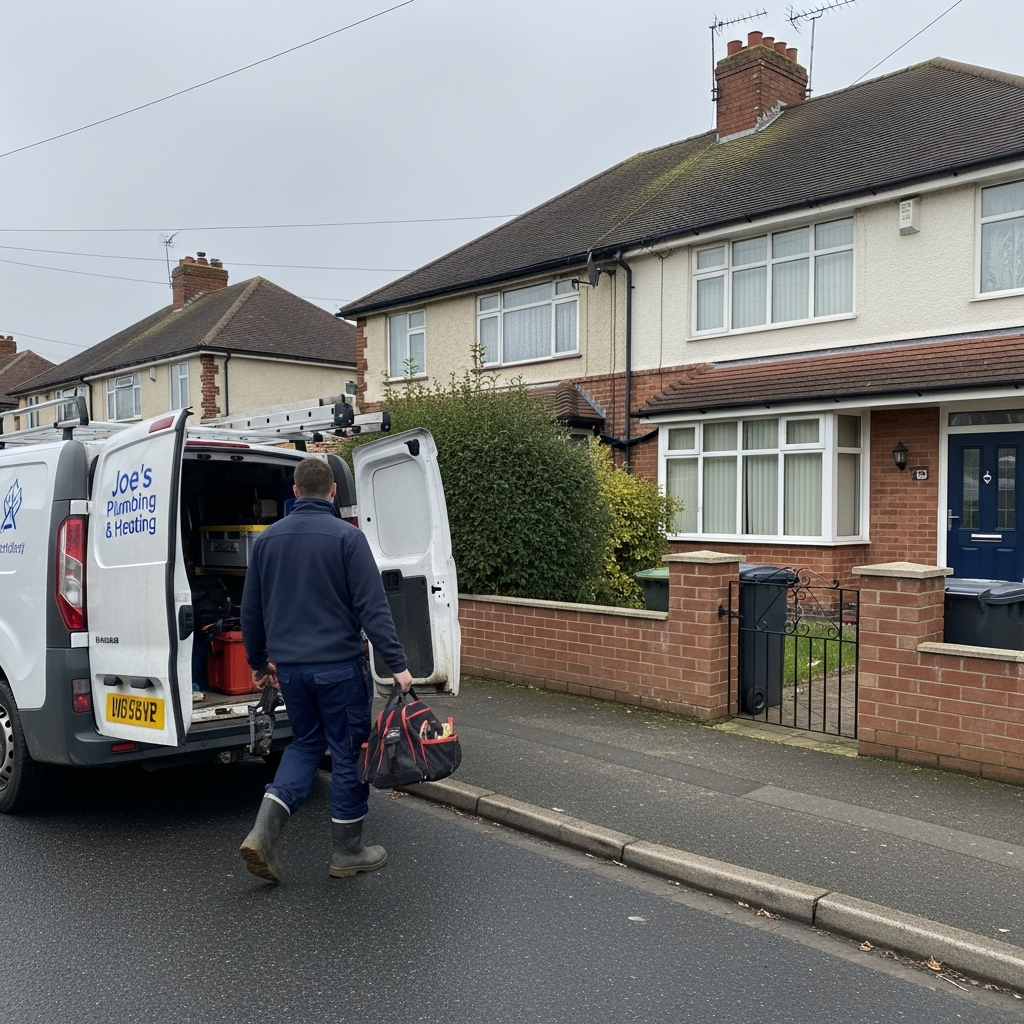
- Confirm the team has arrived and knows the plan
- Stay available for questions (you do not need to watch everything)
- Check that the old boiler is being removed carefully
- Verify the outdoor base is being prepared correctly
Day 2-3: Installation
- Check the outdoor unit positioning against the agreed plan
- Ask to see the pipework insulation quality before it is covered
- Confirm which radiators are being replaced and why
- Note any unexpected issues and how the team handles them
- Check that electrical work is being carried out by a qualified person
Wondering what your installation should cost?
Try the free calculatorCompare your quote against our personalised estimate.
Commissioning Day Checks
On commissioning day, make sure you verify:
| Check | What to look for |
|---|---|
| Flow temperature | 35-45°C for radiators (not boiler-level 60-80°C) |
| All radiators heating | Every radiator in the house getting warm |
| Hot water reaching temperature | Cylinder reaching 48-55°C |
| System pressure | Stable at the designed pressure (usually 1-1.5 bar) |
| Weather compensation | Outdoor sensor fitted and heating curve programmed |
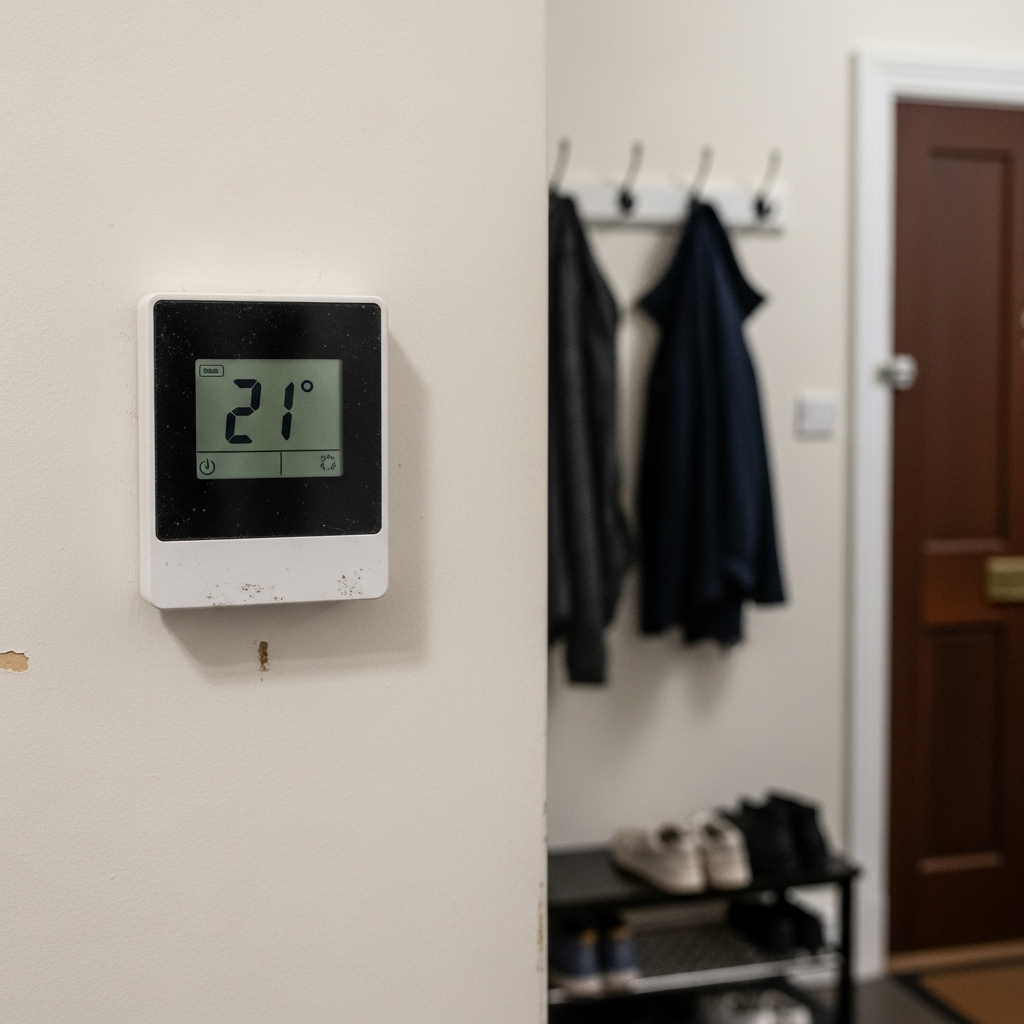
| Controls working | Thermostat responding, schedules set |
| Noise levels acceptable | Outdoor unit operating within permitted limits |
After Installation
Documentation to collect
- MCS installation certificate
- Manufacturer's warranty documents
- Building regulations compliance certificate
- Commissioning record with all recorded values
- System design documentation and heat loss calculations
- User guide for the controls
- Emergency contact details for the installer
First month tasks
- Monitor your energy usage via the smart thermostat or smart meter
- Do not adjust the flow temperature settings — let the weather compensation do its job
- Note any rooms that feel too cool or too warm for the follow-up visit
- Contact your installer if anything feels wrong — do not try to fix it yourself
- Book the follow-up visit (usually at 4-6 weeks) if your installer offers one
- Book the first annual service for 12 months time
If you are looking to maximise the savings from your new heat pump, consider pairing it with solar panels to generate your own electricity and offset your running costs even further.
Frequently Asked Questions
What should I do the day before heat pump installation?
Clear furniture from around radiators being replaced, clear the outdoor area where the unit will sit, ensure good access through the house, and prepare for 2-3 days without heating and hot water by getting electric heaters ready.
What documents should I receive after installation?
You should receive an MCS installation certificate, manufacturer warranty documents, building regulations compliance certificate, commissioning record, system design documentation, user guide for controls, and emergency contact details.
How soon should I book a service after installation?
Book your first annual service for 12 months after installation. Some installers include a follow-up visit at 4-6 weeks to fine-tune settings, which is separate from the annual service.
Ready to get started with your heat pump installation?
Get free quotes todayMCS-certified installers who handle everything from survey to handover.
About Heat Pump Installation Preparation
Proper preparation is essential for a successful heat pump installation in the UK. The Boiler Upgrade Scheme provides £7,500 towards installation costs, and all eligible installations must be completed by MCS-certified companies following strict quality standards. Good preparation reduces installation time, minimises disruption, and ensures the system performs at its designed efficiency from day one. Homeowners increasingly combine heat pumps with solar energy systems to maximise energy savings and reduce their carbon footprint.