Heat Pump Concrete Pad and Base Requirements
A heat pump is only as good as the base it sits on. An unlevel, unstable, or undersized base causes vibration, increases noise, stresses pipework connections, and can even void your warranty. Getting the base right is one of the simplest parts of the installation — but it matters more than many homeowners realise.
This guide covers base types, sizing, anti-vibration options, positioning requirements, and whether preparing the base yourself can save money.
Get a quote that includes base preparation
Get free quotes from MCS-certified installersBase preparation is normally included in the overall installation quote.
Types of Base
Concrete pad
Most common
Poured in situ, 100-150mm thick with compacted sub-base
Pre-cast slabs
Quick option
Large paving slabs on compacted hardcore — faster than pouring concrete
Ground-mount frame
Versatile
Steel frame that sits on slabs or concrete, with integrated anti-vibration
Sizing and Specifications
| Specification | Typical requirement |
|---|---|
| Pad dimensions | 800mm x 800mm to 1200mm x 1200mm |
| Concrete thickness | 100-150mm |
| Sub-base (compacted hardcore) | 100-150mm |
| Must be level | Within 5mm across the pad |
| Weight capacity | Minimum 150kg (typical unit weight 60-120kg) |
| Drainage | Slight slope away from the house for defrost water |
Always check the specific manufacturer's requirements for your heat pump model — they vary by unit size and weight.
Anti-Vibration Mounts
All heat pumps produce some vibration during operation. Anti-vibration mounts (rubber feet or isolators) sit between the unit and the base, absorbing vibration and reducing transmitted noise.
- Rubber feet: Standard with most heat pumps — absorb general vibration
- Anti-vibration mats: Placed under the base or between the unit and slabs for additional isolation
- Spring mounts: Used where noise is particularly critical (near bedrooms or neighbour boundaries)
Proper anti-vibration mounting is essential for meeting permitted development noise limits.
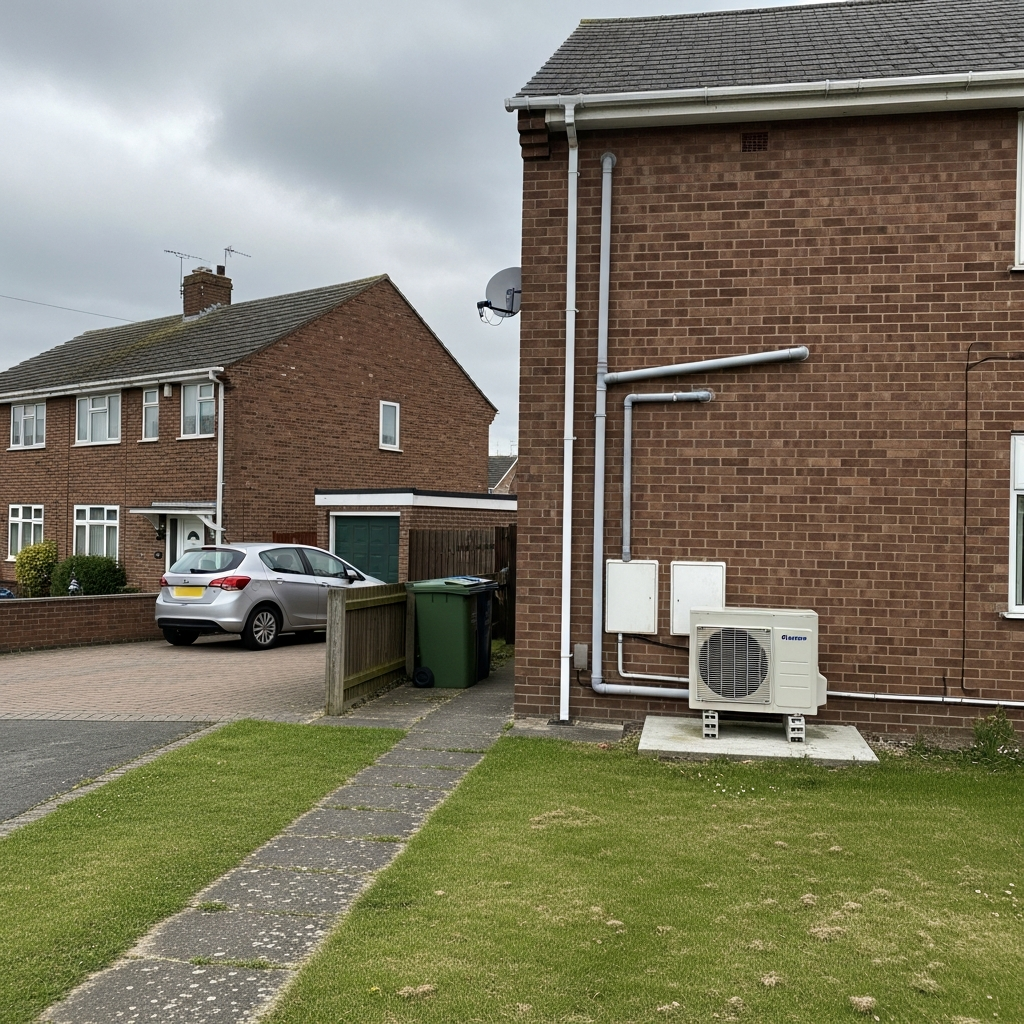
Positioning Requirements
The base position must satisfy several requirements simultaneously:
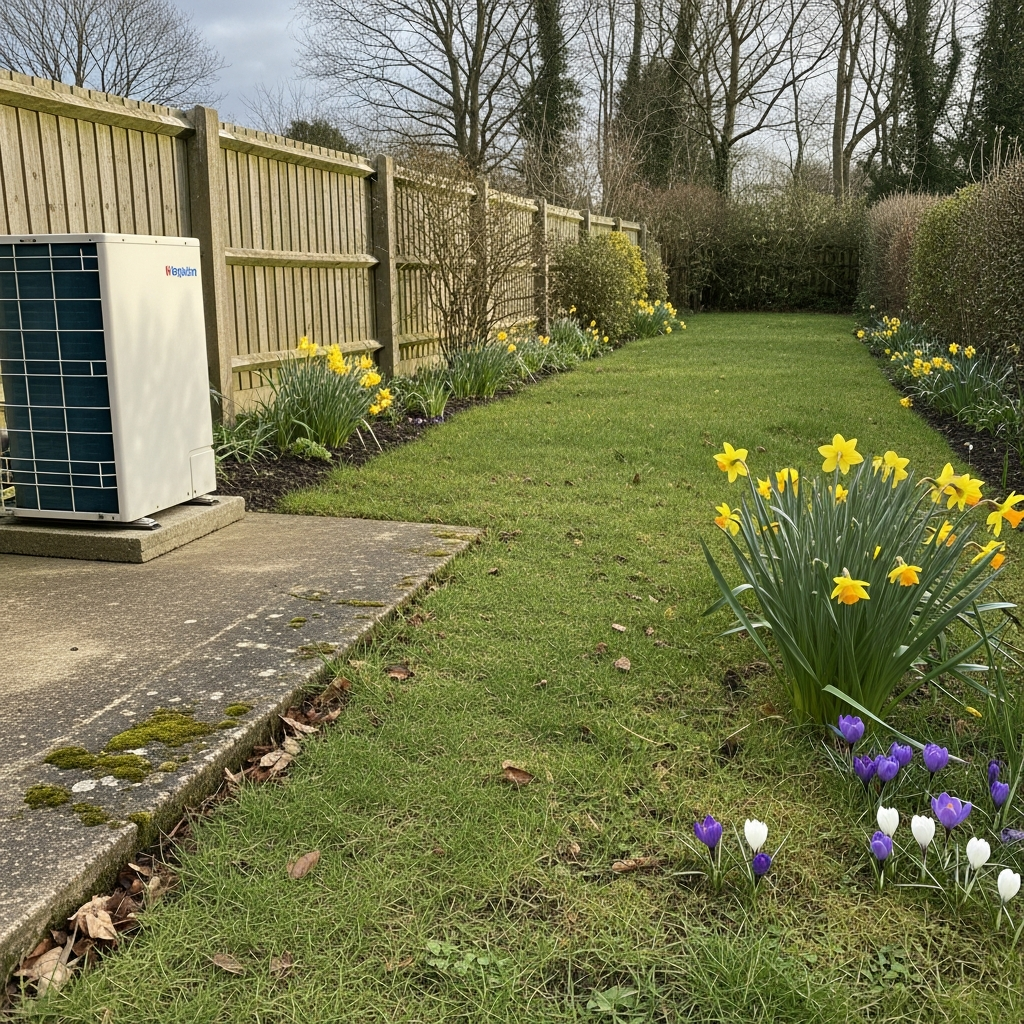
- At least 1 metre from the property boundary for permitted development
- Good airflow — at least 300mm clearance around the unit, more at the fan outlet
- Short pipework run to the indoor system (minimises heat loss)
- Accessible for maintenance and servicing
- Drainage for defrost water (especially important in winter)
- Away from bedrooms and neighbours' windows where possible
See our detailed guide on heat pump distance and positioning rules.
Planning your installation?
Estimate your total costsBase preparation is included in most installation quotes.
Can You DIY the Base?
Yes — preparing the base yourself is one of the easiest ways to save a small amount on the installation. Many homeowners pour a concrete pad or lay slabs before the installation team arrives. The key requirements:
- Get the exact position and dimensions confirmed by your installer first
- Ensure the pad is level within 5mm
- Allow concrete to cure for at least 48 hours before the unit is placed
- Include a slight drainage slope away from the house wall
If you are not confident with concrete work, leave it to the installation team — the cost is typically £200-£400 and is included in most quotes.
If you are also considering solar panels, planning your heat pump base position at the same time as your solar array ensures both systems are optimally positioned for performance.
Frequently Asked Questions
What size base does a heat pump need?
Approximately 1m x 1m, though exact dimensions depend on the unit size. Check the manufacturer's specification.
Can I pour the concrete pad myself to save money?
Yes, if you are confident with basic concrete work. Get the position and dimensions confirmed by your installer before starting.
Can a heat pump sit on paving slabs?
Pre-cast paving slabs can work if they are level, solid, and on a stable base. The key requirement is stability — the base must not sink or shift over time.
Get a complete installation quote including base preparation
Request free quotes todayMCS-certified installers specify the correct base as part of the system design.
About Heat Pump Base Requirements
A properly prepared base is fundamental to a successful heat pump installation. The base supports the unit weight, reduces vibration transmission, and helps meet permitted development noise requirements. MCS installation standards specify base requirements as part of the overall system design. Correct positioning of the heat pump base also affects pipework length and efficiency, contributing to the overall performance that makes heat pumps — alongside solar panels — a key part of the UK's low-carbon heating transition.