Heat Pump Installation Timeline: Week by Week
Most UK heat pump installations take just 4 to 6 weeks from survey to a fully working system — and only 2 to 3 days of actual on-site work. Knowing what happens at each stage helps you plan around any disruption and ensures there are no surprises along the way.
One of the most common questions from homeowners considering a heat pump is simply: how long does the whole process take? This guide gives you a realistic week-by-week breakdown of a typical UK heat pump installation, covering every stage from the initial survey through to commissioning and handover.
Start with an instant cost estimate for your property
Use the free calculatorNo email required. See costs, savings, and payback in 30 seconds.
The Quick Overview
| Timeline | Stage | What Happens |
|---|---|---|
| Weeks 1-2 | Survey and quote | Heat loss calculation, system design, detailed quotation |
| Weeks 2-4 | Grant and prep | BUS application, scheduling, preparation work |
| Weeks 4-6 | Installation | 2-3 days on-site work, commissioning, handover |
Typical timeline for a standard air source heat pump. Can extend to 8-12 weeks during busy periods.
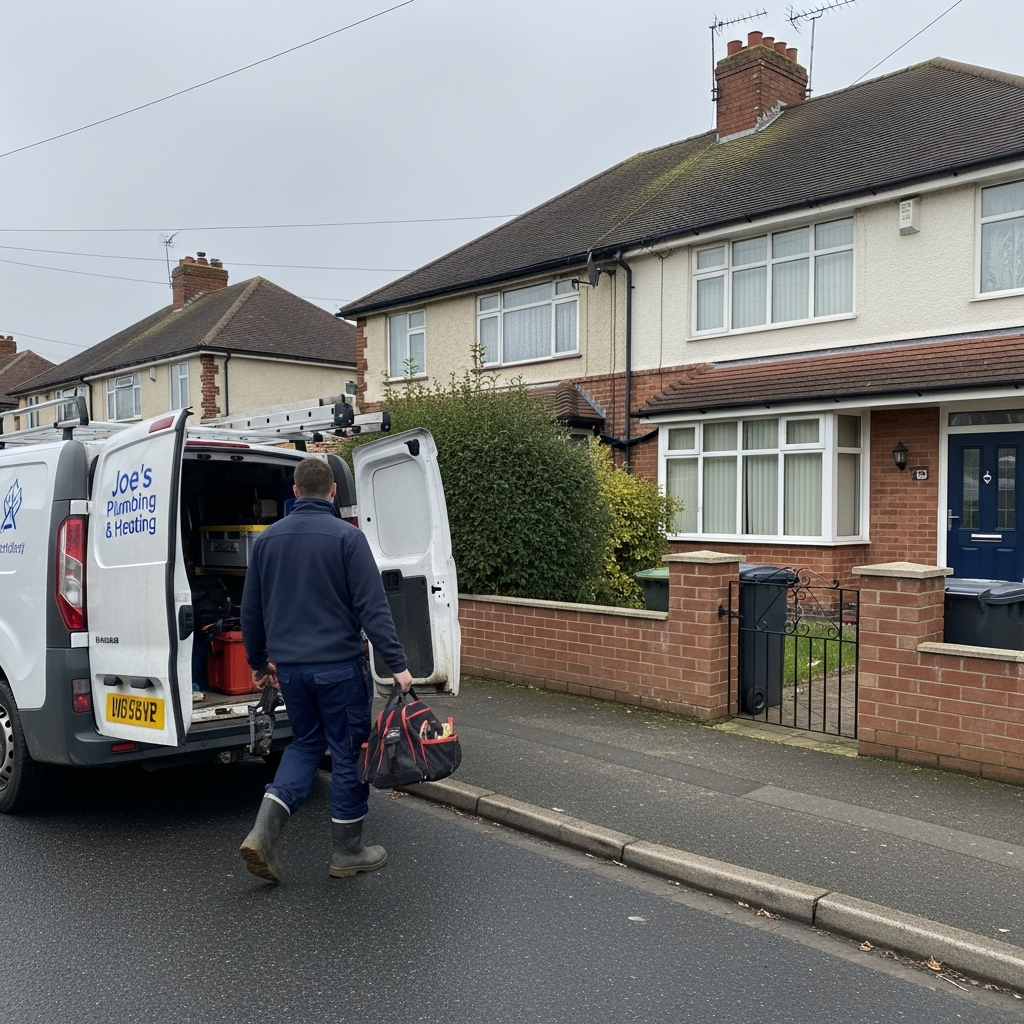
Week 1: Initial Enquiry and Survey
The process starts when you contact MCS-certified installers for quotes. A qualified surveyor visits your property for a detailed heat loss calculation, measuring every room, checking wall construction, assessing existing radiators, and evaluating outdoor unit positioning. This typically takes 1.5 to 3 hours.

Week 2: Quotation and Design
The installer prepares a detailed quotation including the heat loss results, recommended system, cylinder specification, any radiator upgrades, electrical work, plumbing modifications, and total cost before and after the BUS grant. Allow 3 to 7 working days for the quote.
Weeks 2-3: Grant Application and Scheduling
Your MCS installer applies for the BUS grant through the Ofgem portal. Approval typically takes 1 to 2 weeks. If you are in Scotland, the Home Energy Scotland process takes 4 to 8 weeks — factor this into your timeline.
Weeks 3-4: Preparation Work
Some preparation work may happen before the main installation team arrives: electrical supply upgrade if needed (can take 2-6 weeks via the DNO), concrete base preparation, scaffolding if required, and advance radiator upgrades.
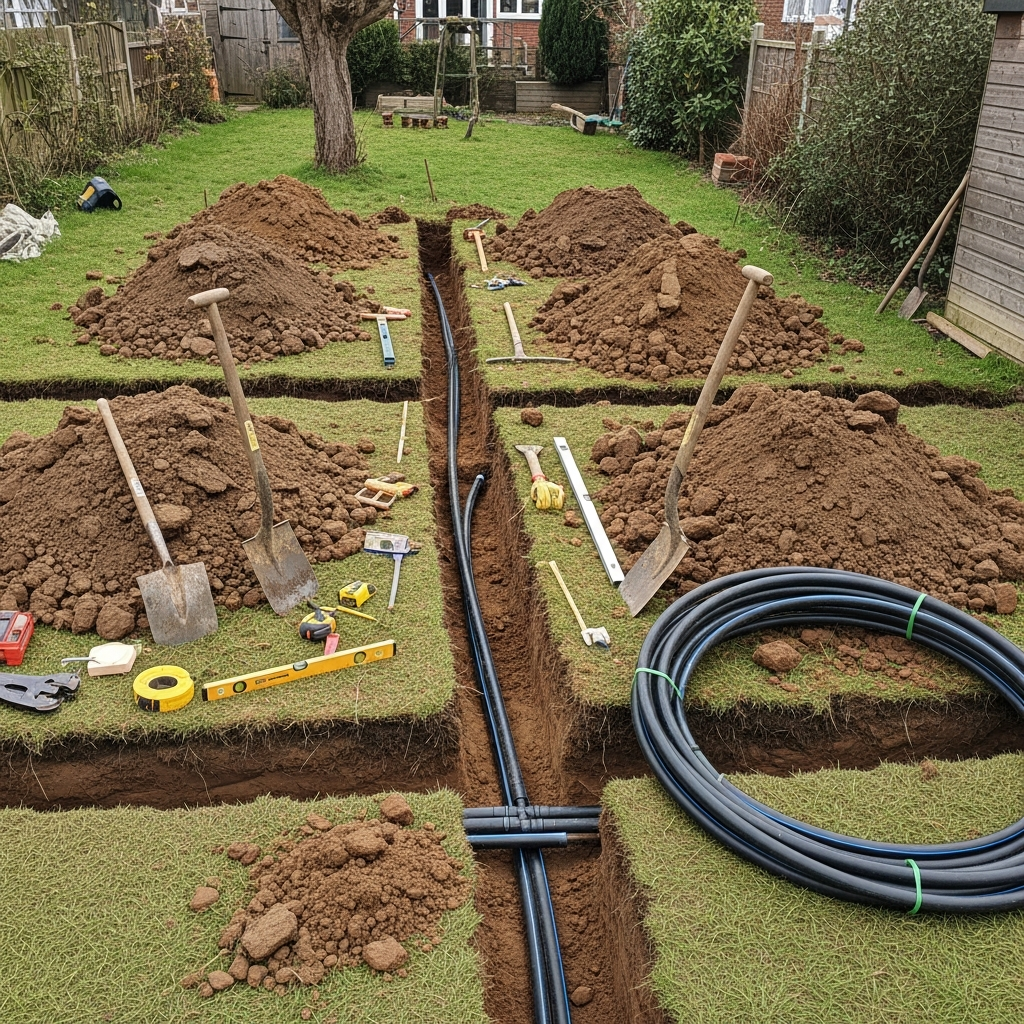
Weeks 4-5: The Installation
Day 1: Groundwork and Outdoor Unit
Positioning the outdoor unit, running pipework through the wall, drilling penetrations, and running the electrical supply cable.
Day 2: Indoor Components
Removing the old boiler, installing the hot water cylinder, connecting to the heating circuit, making plumbing modifications, and installing controls.
Day 3: Commissioning
Completing electrical connections, pressure testing, filling and bleeding, powering up, setting flow temperatures and weather compensation, and testing every room.
Ready to get the process started?
Get free installer quotesMCS-certified installers. No obligation. Compare at least 3.
Weeks 5-6: Handover and Settling In
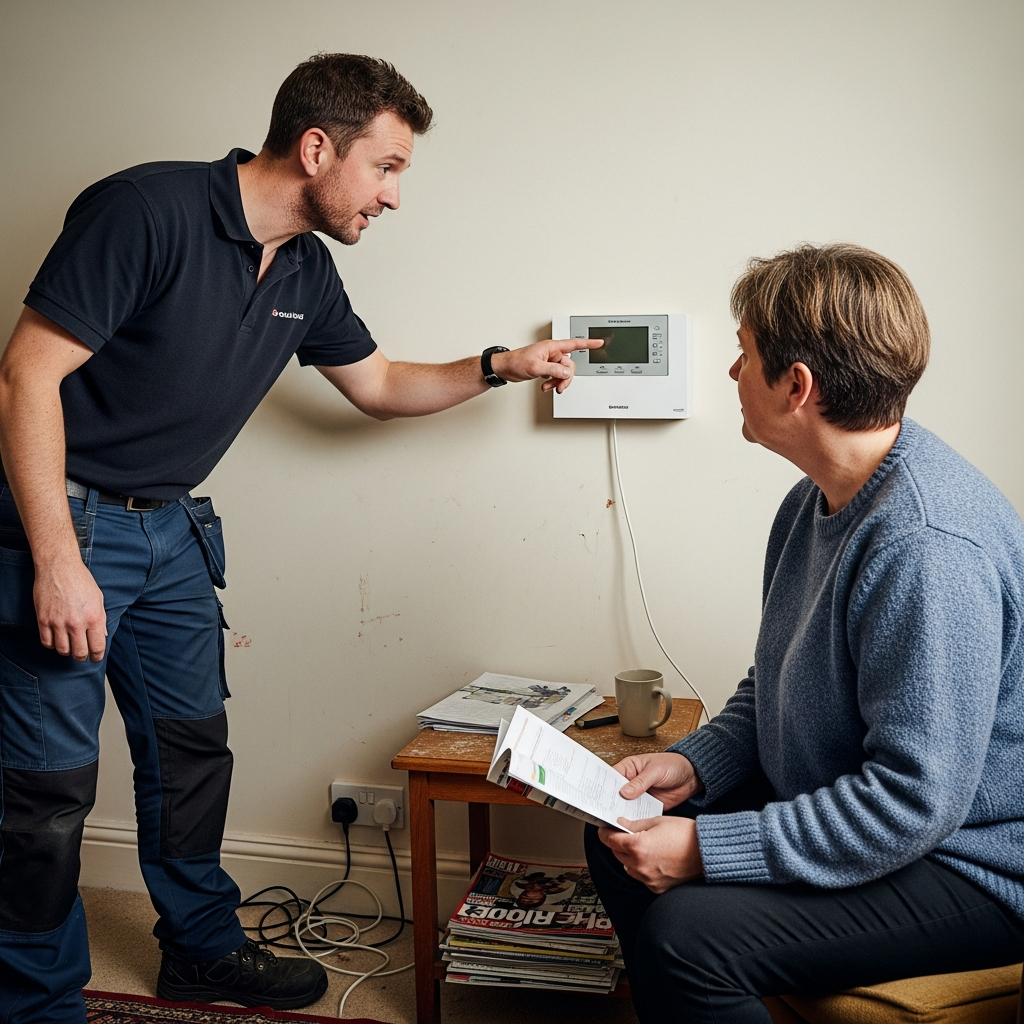
After commissioning, your installer explains controls, flow temperatures, weather compensation, and hot water schedules. Expect radiators to feel warm rather than hot — this is by design. The system may run for longer at lower output, which is more efficient. Your installer may visit after a week or two to fine-tune settings.
If you are also considering adding solar panels to reduce your electricity costs further, this is an ideal time to plan that as a follow-on project while the installation team is familiar with your property.
Factors That Can Extend the Timeline
- Electrical supply upgrade: Add 2 to 8 weeks via the DNO
- Planning permission: Add 8 to 12 weeks for listed buildings or conservation areas
- Insulation work first: Can add weeks or months
- Busy installer schedules: Autumn peak can mean 6-12 week waits
- Equipment availability: Rare but possible supply chain delays
How much will your installation cost after the £7,500 grant?
Calculate nowInstant results. No email or signup needed.
Frequently Asked Questions
Can a heat pump be installed in one day?
A simple like-for-like replacement can sometimes be completed in one day. A first-time installation replacing a gas boiler typically takes 2 to 3 days minimum.
How long will I be without heating during the installation?
Typically 1 to 2 days. Good installers plan the work to minimise the gap, sometimes keeping your existing boiler running until the heat pump is ready.
When is the best time of year to install a heat pump?
Late spring and summer are ideal — better installer availability, favourable weather, and no need for heating during disruption.
How long does a ground source heat pump installation take?
Longer than air source. Ground works add 1 to 5 days. Total on-site time is typically 5 to 10 working days, with the overall project stretching to 6 to 10 weeks.
What if there are delays with the grant application?
Most installers will not begin work until the grant is confirmed. Delays are uncommon but can happen during high demand periods.
Do I need to be at home during the installation?
You need to be available on the first day and present for the handover. Someone should be contactable throughout for decisions.
The heat pump installation timeline typically spans 4 to 6 weeks from survey to completion. This connects to the broader process of heat pump installation, costs, and grant applications. Homeowners planning to combine their heat pump with solar panels can often coordinate both projects to minimise total disruption and maximise energy savings.