Heat Pump Installation Guide: What to Expect
Step-by-step guide to the installation process, from first enquiry to a warm home.
A typical air source heat pump installation takes 2–4 days and involves mounting an outdoor unit, connecting it to your heating system, installing a hot water cylinder (if needed), and commissioning the system. From first enquiry to a working heat pump, the full timeline is usually 4–8 weeks. Your home stays habitable throughout — it's less disruptive than a new kitchen.
2–4 days
Air source installation
Source: MCS installers
1–2 weeks
Ground source installation
Source: MCS installers
4–8 weeks
Full timeline (enquiry to install)
Source: Average
Free
Initial survey and quote
Source: Most installers
Typical Installation Timeline
Old system removed
Existing boiler disconnected and removed. Site prepared for new installation.
Pipework & cylinder fitted
New pipework installed. Hot water cylinder connected. Wall penetrations made.
Heat pump unit installed
Outdoor unit placed on concrete pad. Connected to indoor system via refrigerant pipes.
Testing & handover
System commissioned and tested. Engineer shows you how everything works.
Most homes keep existing radiators and pipework. Less disruptive than a new kitchen.
The Full Timeline
Week 1–2: Getting Quotes
Start by getting 2–3 quotes from MCS-certified installers. You can use our free quote service to connect with installers in your area. Each installer will want to visit your home for a survey (usually free, lasting 1–2 hours). During the survey, they will:
- Assess your home's insulation and construction
- Perform a room-by-room heat loss calculation
- Check each radiator's size and output capacity
- Identify the best location for the outdoor unit
- Check your electrical supply and consumer unit
- Assess whether you need a new hot water cylinder
- Discuss your heating preferences and any concerns
Week 2–3: Choosing Your Installer
Compare your quotes carefully. Look beyond the price — consider the installer's experience, the brand of heat pump they recommend, the warranty offered, and how well they explained the process. Check MCS certification is current and read reviews from previous customers.
Once you've chosen an installer and signed the contract, they'll apply for the BUS grant voucher on your behalf. This is submitted to Ofgem and typically processed within 3–5 working days.
Week 3–4: Preparation
While waiting for the voucher and installation date, you can prepare:
- Clear the area where the outdoor unit will be installed
- Ensure access to the airing cupboard (if the hot water cylinder is going there)
- Clear internal areas where the installer will need to run pipes
- If you're having radiators changed, clear furniture away from those radiators
- Arrange for someone to be at home during the installation
Week 4–8: Installation
Your installer will agree a specific start date. The installation itself is covered in detail below.
Step-by-Step: The Installation Process
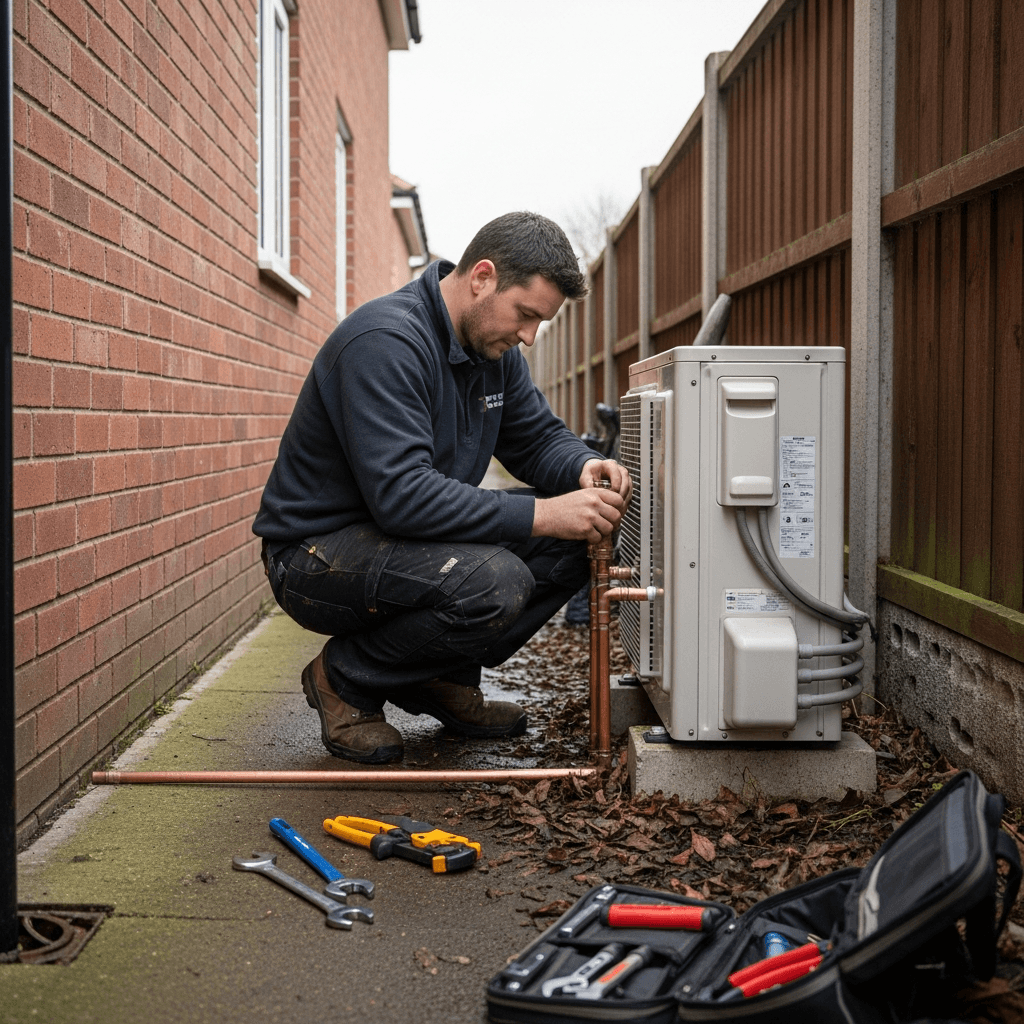
Day 1: Outdoor Unit and Groundwork
- A concrete plinth or bracket system is prepared for the outdoor unit
- The outdoor unit is positioned and secured
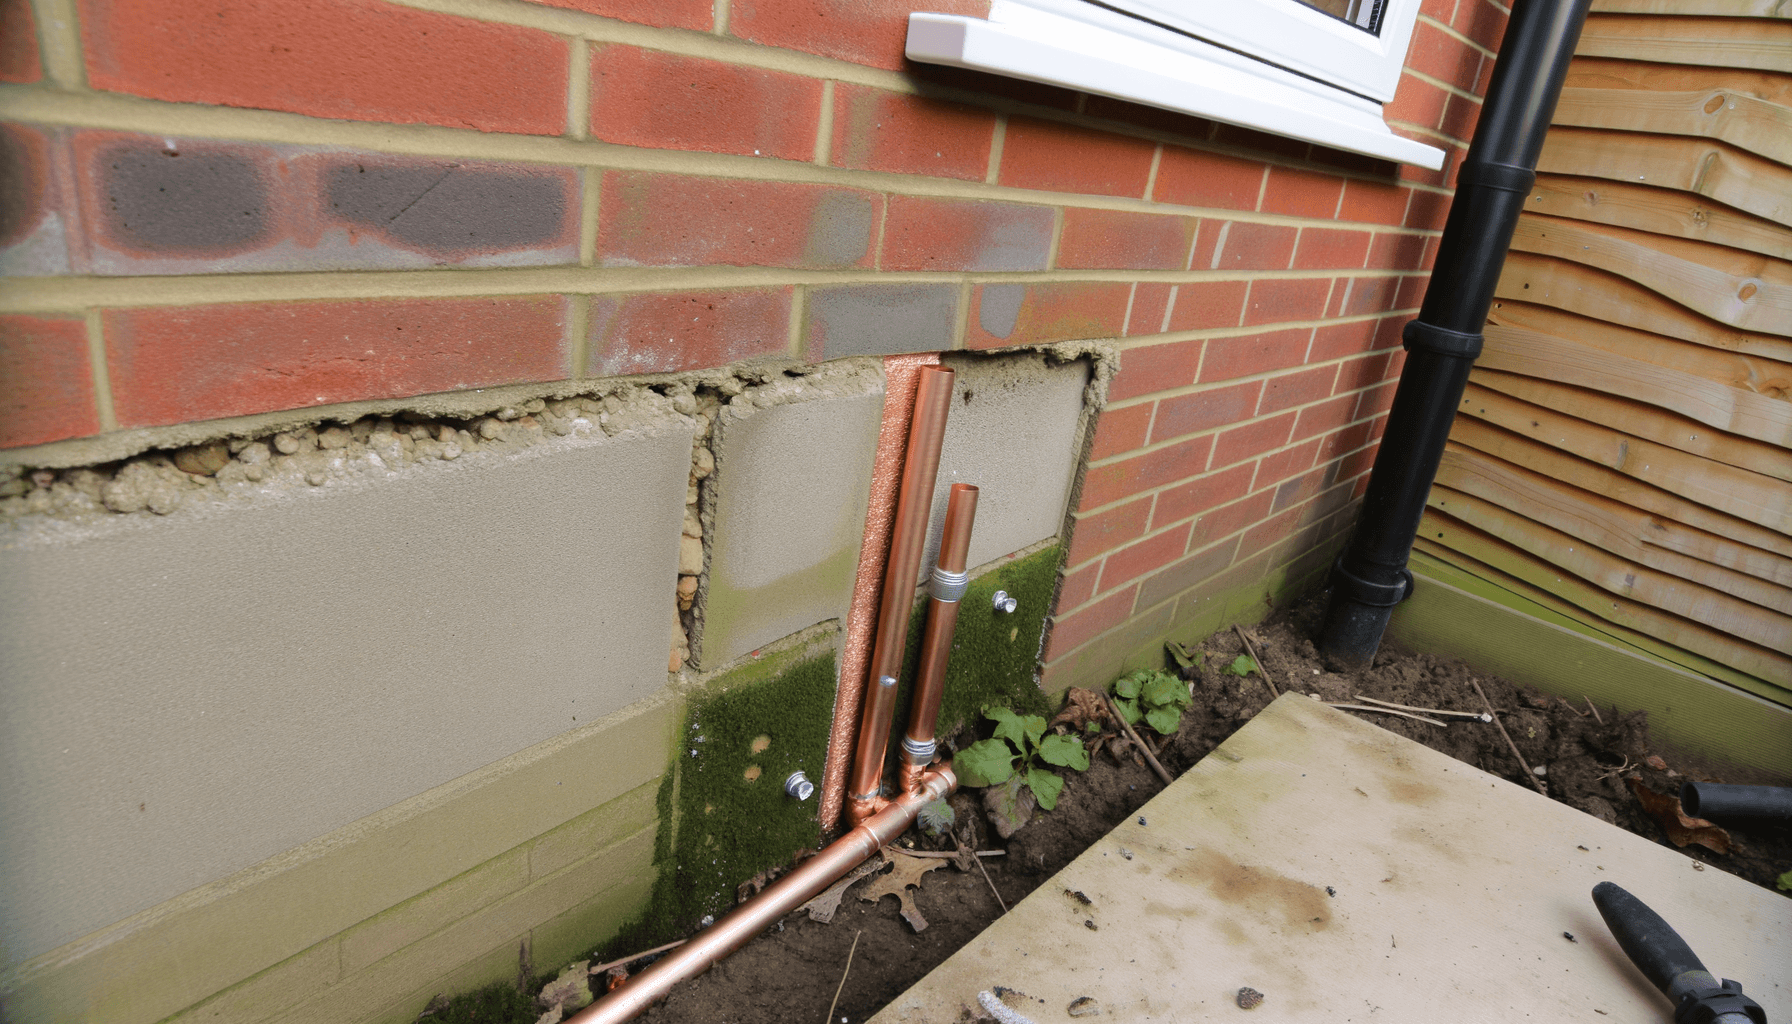
- Refrigerant pipes are run from the outdoor unit into your home (usually through an external wall)
- The old boiler is disconnected and removed (if being replaced)
- Electrical connections for the outdoor unit are prepared
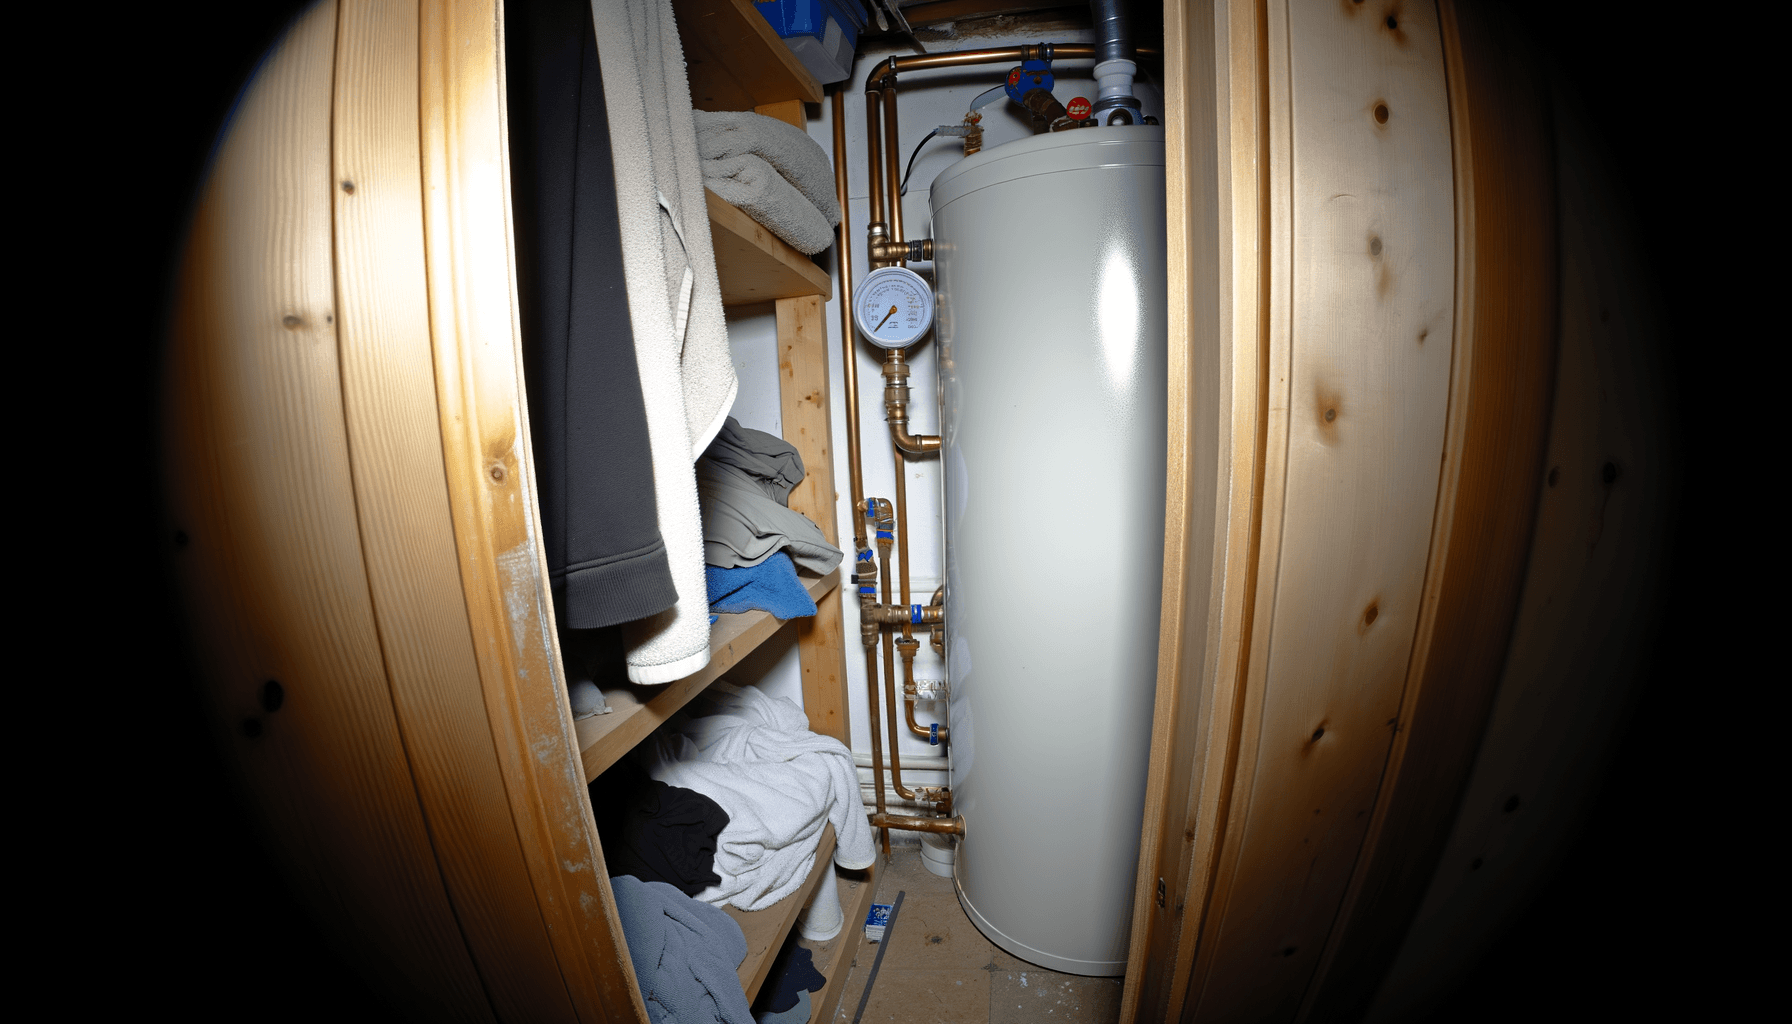
Day 2: Indoor Installation
- The hot water cylinder is installed (if needed — common when replacing a combi boiler)
- The heat pump's indoor module and controls are fitted
- Pipework connections to your existing heating system are made
- Any radiator upgrades are done (if required)
- Electrical connections are completed and tested
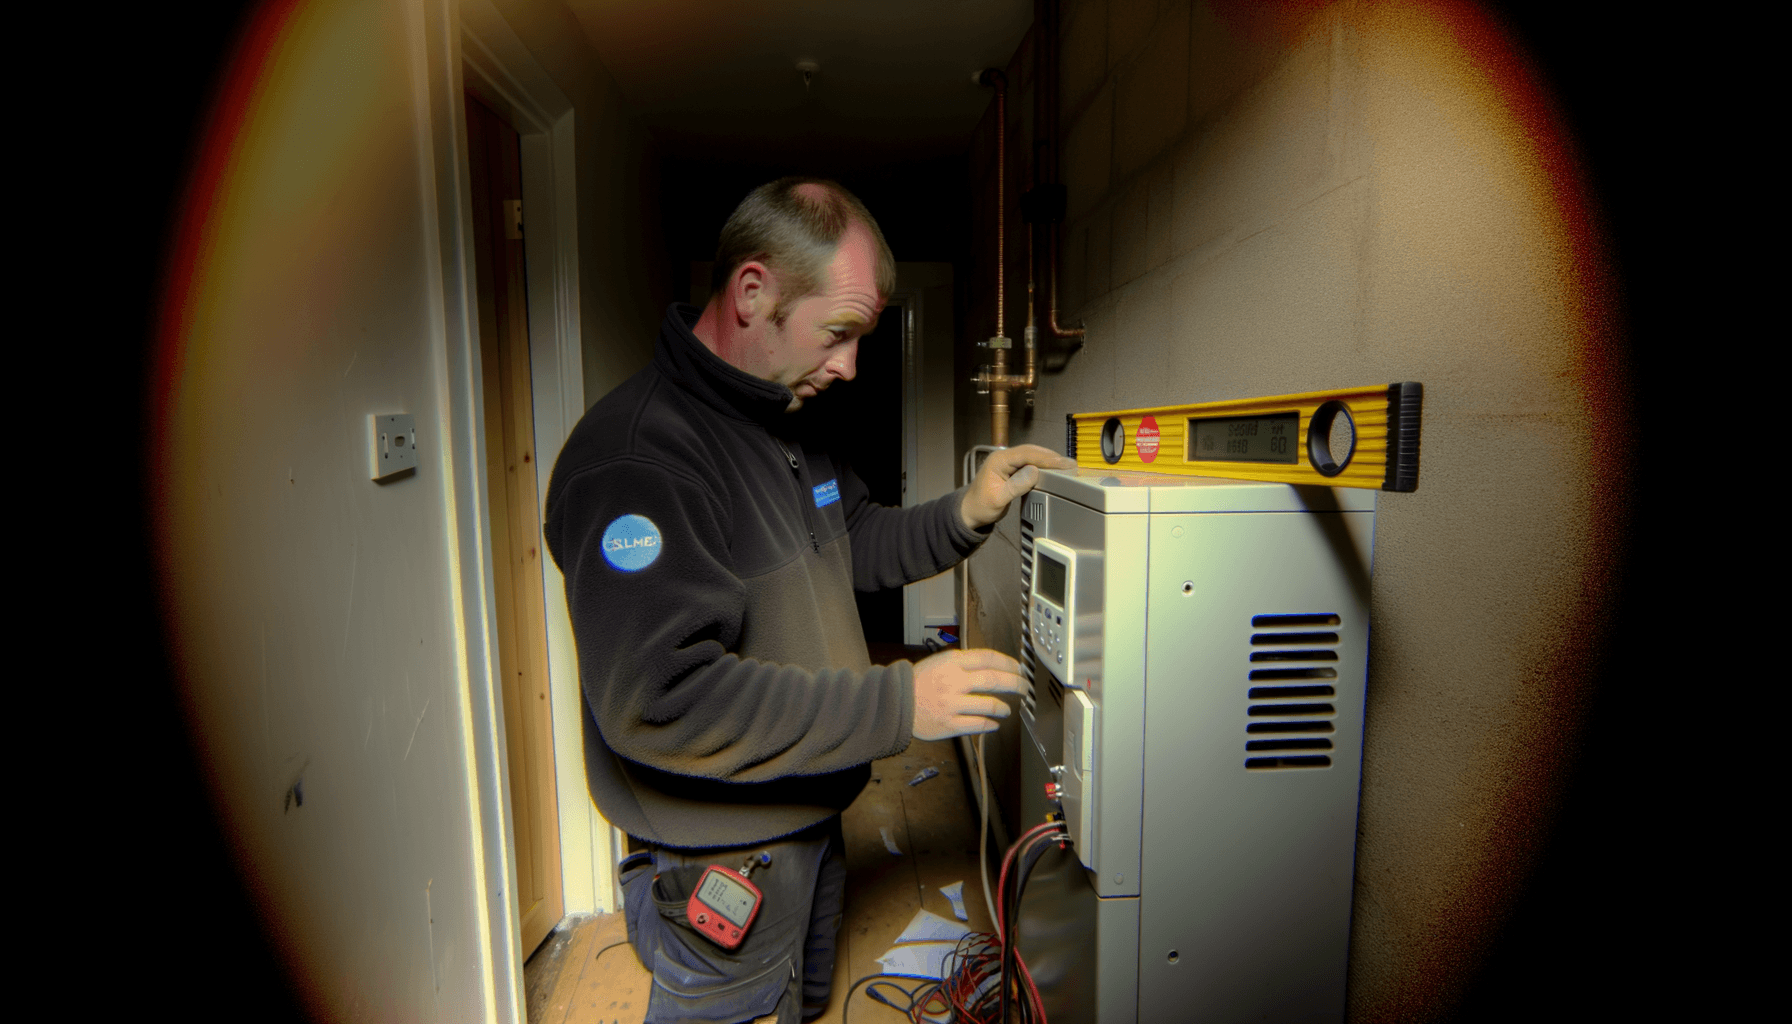
Day 3: Commissioning and Handover
- The system is filled with water, pressurised, and tested for leaks
- Flow temperatures and controls are optimised for your home
- The MCS commissioning process is completed
- Your installer walks you through how the system works
- You're shown how to use the controls, adjust temperatures, and set timers
- The MCS certificate is issued (needed for the BUS grant claim)
Day 4 (if needed): Finishing
- Pipe covers and boxing fitted
- Plasterwork made good
- Outdoor connections tidied
- Final system checks and adjustments

Ready to take the next step?
Get free, no-obligation quotes from MCS-certified heat pump installers in your area. Takes 2 minutes.
Get free quotes from MCS-certified installersNo obligation. We are not installers. Independent advice.
What to Expect During Installation
Noise and disruption
There will be drilling (for pipe routes through walls), some sawing (for pipe boxing and plasterwork), and general construction noise. It's comparable to having a bathroom refitted — noticeable but manageable. You can stay in your home throughout.
Heating downtime
There will be a period (usually a few hours to a day) when your old heating system is disconnected and the new one is not yet running. Installers typically plan this for the warmest part of the installation schedule. If possible, schedule your installation for spring or autumn when heating demand is lower.
Hot water
You may be without hot water for 12–24 hours during the switchover. Some installers provide temporary hot water facilities if needed. It's worth asking about this when booking.
Access requirements
The installers will need access to the outdoor area (garden, side passage), the area where pipes enter the home, the location for the hot water cylinder, and all rooms with radiators that are being modified. Ideally, have someone at home throughout the installation.
How to Choose an MCS-Certified Installer
Choosing the right installer is as important as choosing the right heat pump. Here's what to look for:
- MCS certification: This is non-negotiable. Only MCS-certified installers can apply for the BUS grant. Check their certification is current on the MCS website.
- Experience: Ask how many heat pump installations they've completed. A good installer will have done dozens or hundreds, not just a handful.
- Detailed survey: A good installer spends 1–2 hours surveying your home, not 20 minutes. They should do a proper heat loss calculation, not a back-of-envelope estimate.
- Clear quote: The quote should itemise everything — heat pump unit, cylinder, pipework, electrical work, any radiator changes, and the BUS grant deduction. No surprises.
- Warranty: Check what warranty is offered on the installation work (not just the manufacturer's warranty on the unit). Good installers offer 2–5 years on their workmanship.
- Aftercare: Ask about ongoing servicing. Many installers offer annual service packages. Having the same company that installed your system service it makes fault diagnosis easier.
- Reviews: Check Google reviews, Trustpilot, and ask for references from recent installations in your area.
Do You Need Planning Permission?
Most air source heat pump installations do not need planning permission. They fall under permitted development rights in England, Wales, and Scotland, provided:
- The outdoor unit complies with MCS planning standards (noise limits, placement)
- The unit is at least 1 metre from the property boundary
- Only one air source heat pump is installed per property
- The unit is not installed on a wall or roof fronting a highway
- The installation meets noise limits at the nearest neighbour's window (42 dB)
Exceptions: Listed buildings, properties in conservation areas, and flats may require specific planning permission. Your installer will advise on this during the survey.
Ground source heat pumps rarely need planning permission, as all the work is below ground and there's no visible outdoor unit. However, check with your local authority if in any doubt.
Pre-Installation Checklist
Before your installation date, make sure you have:
- A valid EPC for your property (check if yours has expired)
- Confirmed the BUS grant voucher has been issued
- Cleared outdoor area for the heat pump unit
- Cleared indoor space for hot water cylinder (if applicable)
- Moved furniture away from radiators being changed
- Informed neighbours about installation dates (a courtesy, especially for the outdoor unit)
- Arranged to be at home or have someone present
- Noted any questions you want to ask the installer
Common Installation Concerns
After Installation: The First Few Weeks
Heat pumps work differently from gas boilers. Here's what to expect:
- Radiators feel cooler to the touch. This is normal. At 35–45°C flow temperature, radiators won't feel as hot as they did with a gas boiler. But your rooms will still reach the same temperature — the heat is delivered more gently and evenly.
- It takes longer to warm up. Heat pumps deliver steady, consistent warmth rather than blasting heat quickly. Many people find it more comfortable, but it takes getting used to. Leave the system running for longer periods rather than switching it on and off.
- The outdoor unit runs frequently. Unlike a boiler that fires up and shuts down, a heat pump often runs continuously at low power. This is normal and efficient — it uses less energy than repeated start-stop cycles.
- Your installer should return for a check-up. Most good installers visit 2–4 weeks after installation to check everything is running optimally and make any fine-tuning adjustments.
Ready to take the next step?
Get free, no-obligation quotes from MCS-certified heat pump installers in your area. Takes 2 minutes.
Get free quotes from MCS-certified installersNo obligation. We are not installers. Independent advice.