How to Apply for the BUS Grant: Step-by-Step Guide
Here is the best news about the BUS grant: you do not apply yourself. Your MCS-certified installer handles the entire application through the Ofgem portal. Your role is to provide the right documents, choose a good installer, and understand what is happening at each stage.
This guide walks you through every step, from your first enquiry to having the £7,500 grant deducted from your final bill. We explain what you need to prepare, what your installer does behind the scenes, and the typical timeline for each stage.
Find MCS-certified installers who handle the BUS application for you
Get Free QuotesCompare up to 3 local installers. No obligation.
Before You Start: What You Need
Before contacting installers, make sure you have these sorted:
1. A Valid Energy Performance Certificate (EPC)
Your property must have a valid EPC. EPCs are valid for 10 years, so if you had one done when you moved in, check it has not expired. If you do not have one, you will need to arrange an EPC assessment costing £60 to £120 through an accredited domestic energy assessor.
Critical point: If your EPC recommends loft insulation or cavity wall insulation, you must have these installed before the BUS grant can be approved. This is the most common reason for delays. If those recommendations do not apply to your property (solid walls or already-insulated loft), that is fine — your installer can note this in the application.
2. Proof of Property Ownership
You need to be the legal owner of the property. This is usually straightforward for owner-occupiers. Landlords are also eligible and need to show property ownership.
3. Details of Your Current Heating System
The BUS grant requires you to be replacing an existing fossil fuel heating system. Know what you currently have — gas boiler, oil boiler, LPG boiler, or electric storage heaters. Homeowners with gas central heating are fully eligible. Your installer will verify this during their survey.
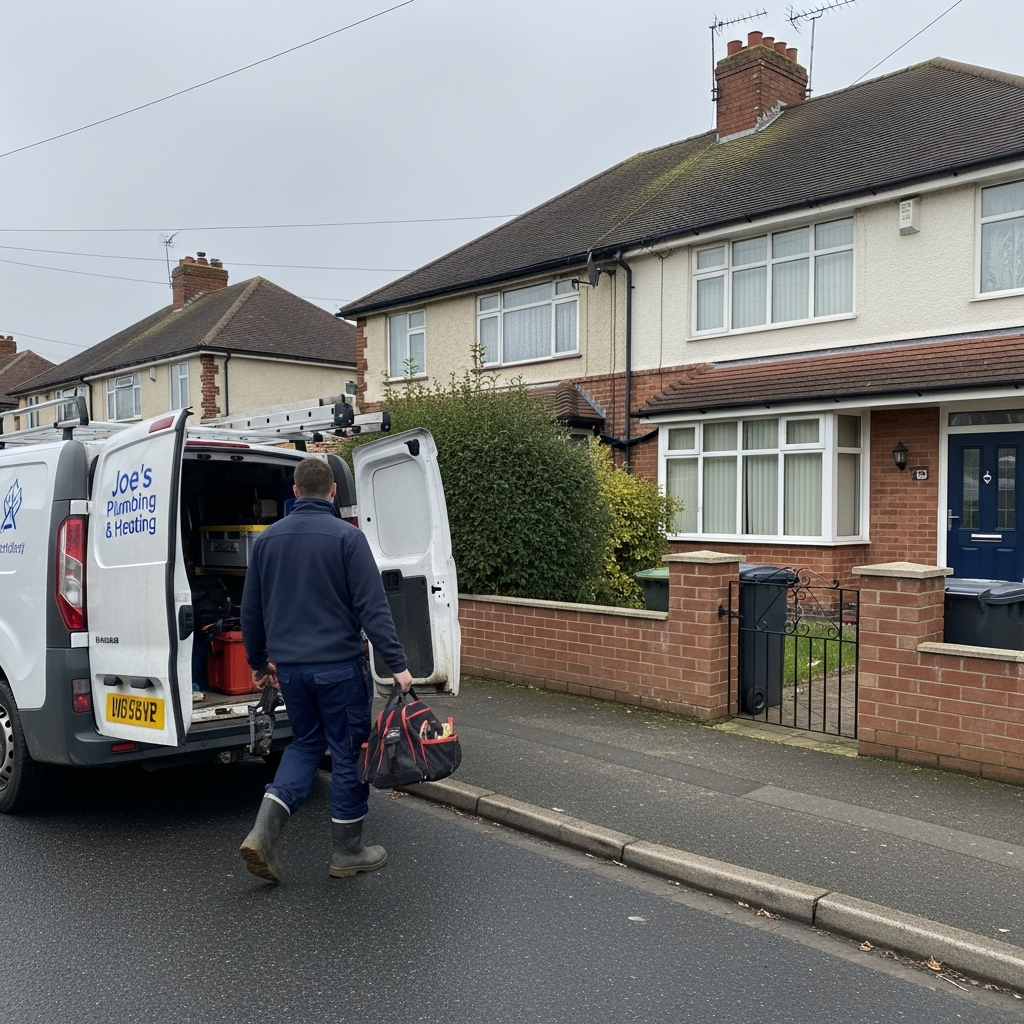
Step 1: Get Quotes from MCS-Certified Installers
The process starts with finding the right installer. This is arguably the most important step, because your installer manages the entire grant application and is responsible for the quality of the installation.
What to Look For
- MCS certification: Non-negotiable. Only MCS-certified installers can apply for the BUS grant. Verify on the MCS website.
- Experience with BUS applications: Ask how many BUS-funded installations they have completed. An experienced installer will have a smooth process.
- Detailed survey: A good installer will visit your property to assess heat loss, check radiators, and design a system specific to your home.
- Transparent quote: The quote should show the full cost, the BUS grant deduction, and the amount you pay. No hidden extras.
We recommend getting at least three quotes. Use our free quote service to connect with MCS-certified installers in your area.
What Happens During the Survey
A proper installer survey takes one to two hours and should include measuring rooms, assessing insulation levels, checking existing radiators, identifying the best location for the outdoor unit, reviewing hot water needs, calculating heat loss, and checking your electrical supply. If an installer offers a quote without visiting your property, be cautious. Read our installation guide for more on what a proper installation involves.
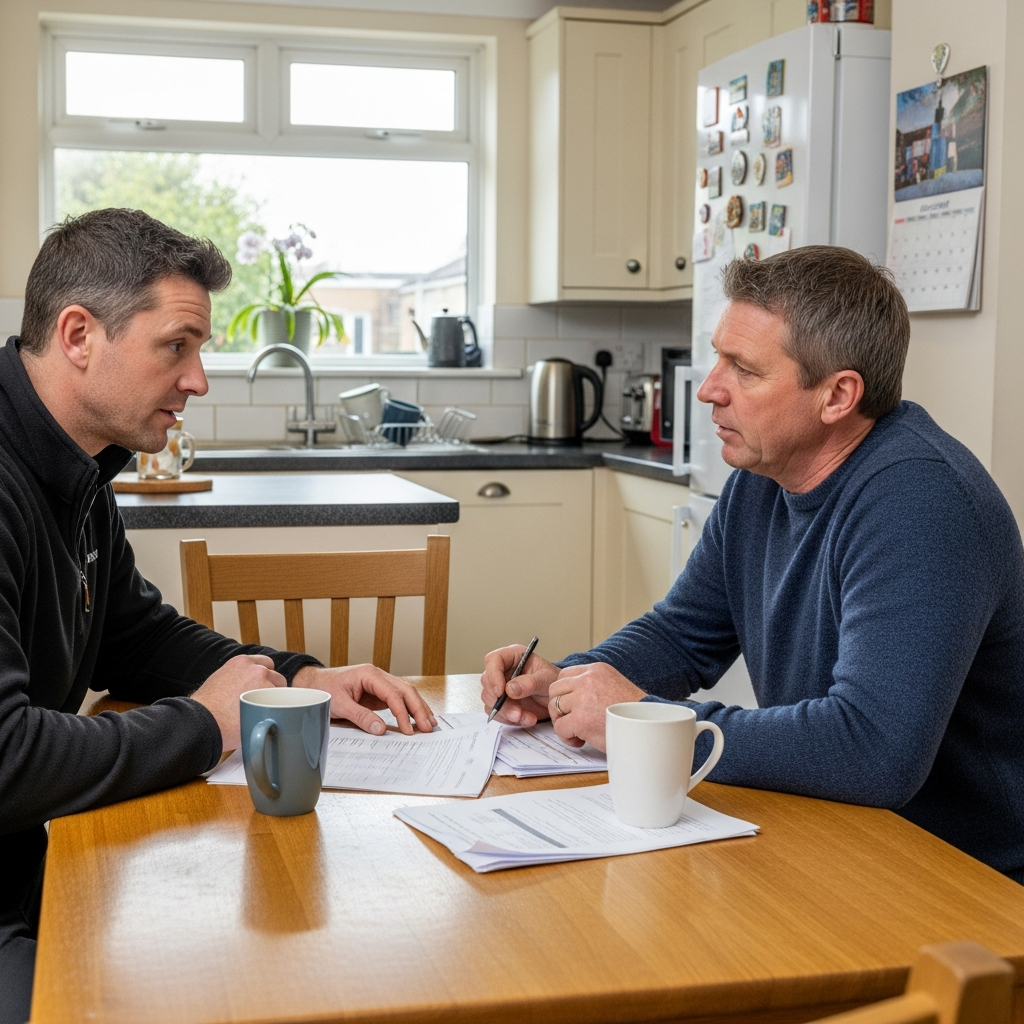
Step 2: Choose Your Installer and Sign the Contract
Once you have compared quotes, choose your preferred installer. Before signing, confirm:
- The total cost and the BUS grant deduction are clearly shown
- The quote includes all work needed (pipework, hot water cylinder, electrical upgrades, any radiator upgrades)
- The estimated timeline for the BUS application and installation
- What happens if the BUS application is rejected
- Payment terms — you should not pay the full amount until the grant is confirmed
Step 3: Your Installer Submits the BUS Application
This is where your installer takes over. They submit the application through the Ofgem online portal, providing:
- Your property address and ownership details
- Your EPC reference number
- Confirmation that EPC insulation recommendations have been met
- Details of your existing heating system being replaced
- The proposed heat pump make, model, and capacity
- The total installation cost
- Your consent to the application (you will need to sign a consent form)
The Consent Form
You will need to sign a property owner consent form confirming you agree to the application and that the information is accurate. Your installer will provide this — read it carefully and ensure the details are correct before signing.
Want to see what you would pay after the £7,500 grant?
Calculate Your CostsPersonalised estimate based on your property type and location.
Step 4: Ofgem Reviews and Issues a Voucher
Ofgem reviews the application to check that all eligibility criteria are met. This typically takes two to four weeks, though it can be faster during quieter periods.
If everything is in order, Ofgem issues a voucher confirming the grant. The voucher is valid for three months from the date of issue. Your installer will notify you once the voucher has been granted.
What If the Application Is Rejected?
If Ofgem rejects the application, they will explain why. Common reasons include EPC insulation recommendations not completed, expired or invalid EPC, property identified as a new build, or incomplete documentation. Most rejections can be resolved by addressing the specific issue and resubmitting. For detailed eligibility information, see our BUS eligibility guide.
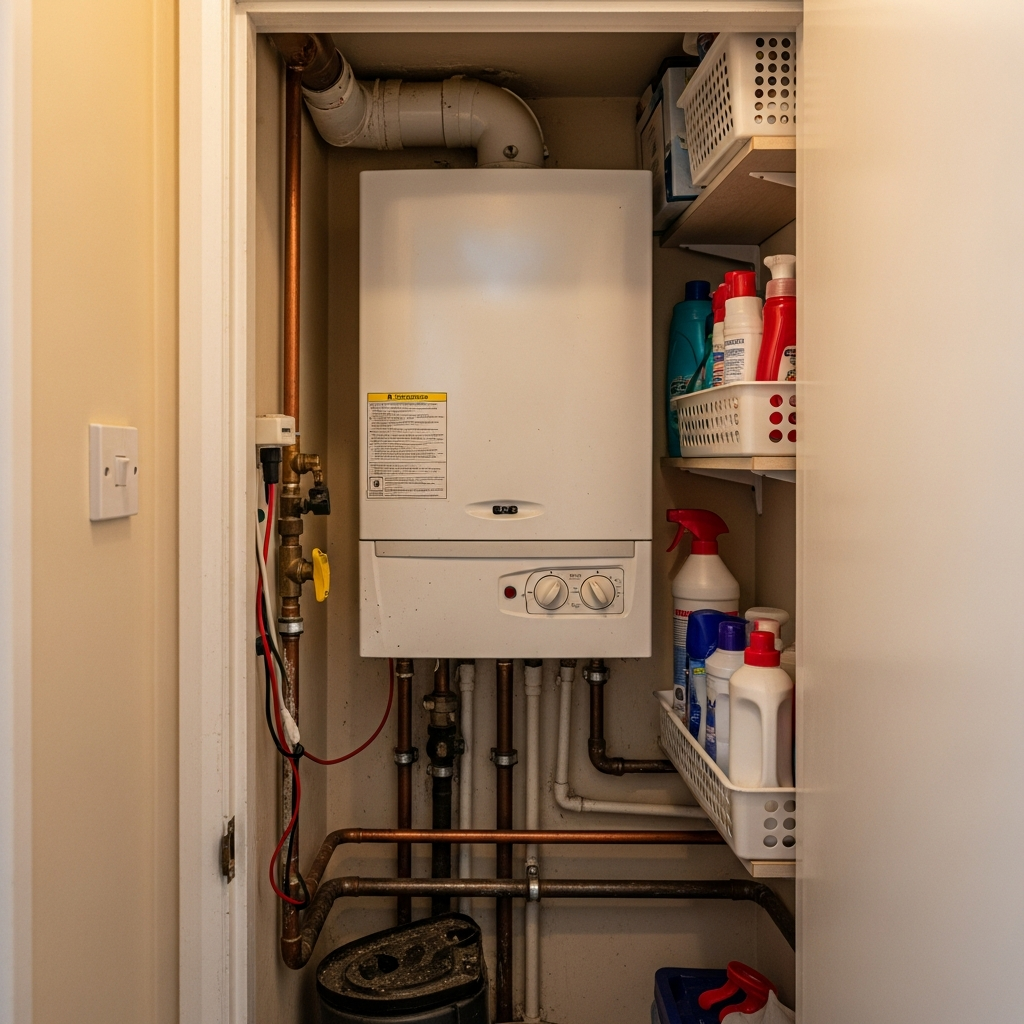
Step 5: Installation Takes Place
Once the voucher is issued, your installer will schedule the installation:
- Air source heat pump, straightforward installation: 1 to 2 days
- Air source heat pump with radiator upgrades: 2 to 3 days
- Ground source heat pump: 3 to 5 days (including ground works)
The installer will remove your old boiler, install the heat pump unit outside, connect it to your heating system, fit a new hot water cylinder if needed, and commission the system. For a complete breakdown, see our installation guide.
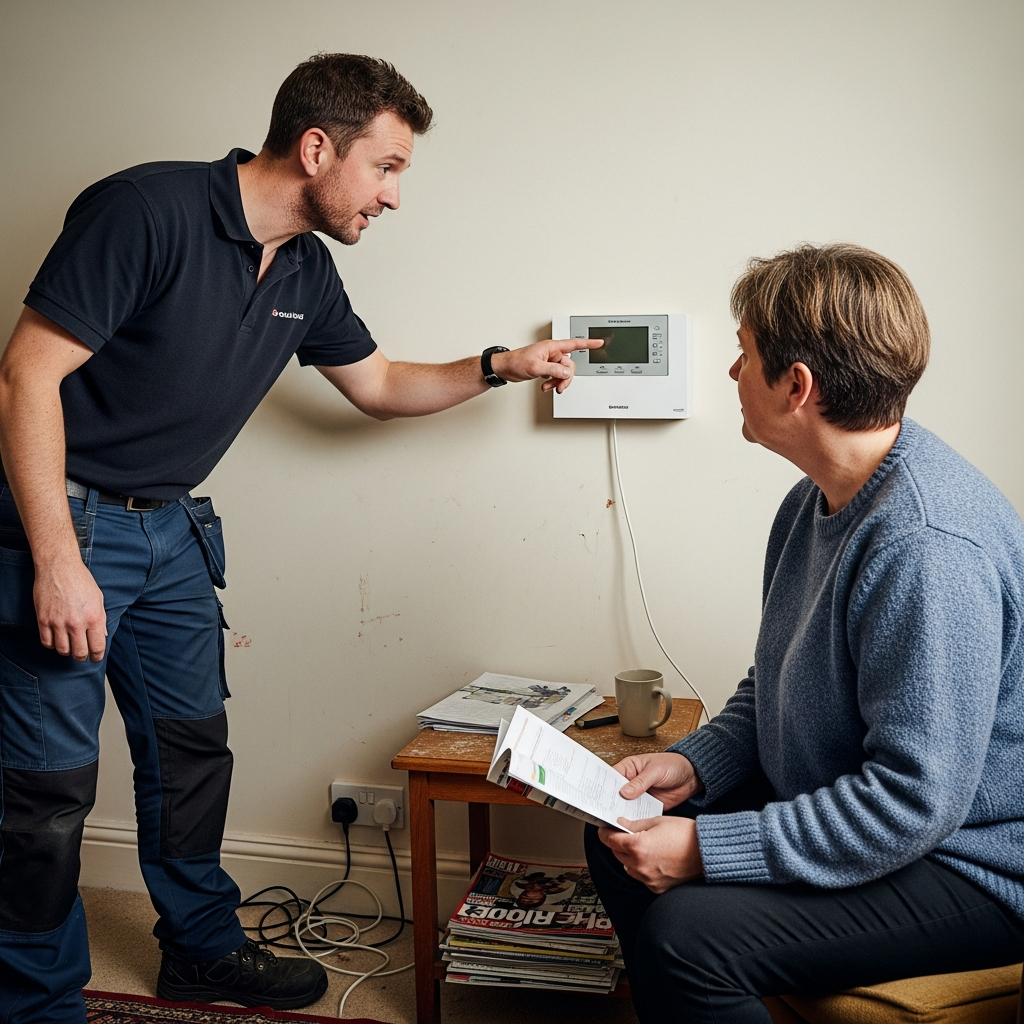
Step 6: Completion and Payment
After the installation is complete, your installer commissions the heat pump, shows you how to use it, registers with MCS, confirms completion through the Ofgem portal, and sends you the final invoice showing the BUS grant deducted. Ofgem then pays the grant directly to the installer. You pay the balance (total cost minus £7,500).
Complete Timeline: From Start to Finish
| Stage | Typical Duration |
|---|---|
| Get quotes, compare installers, arrange surveys | Week 1–3 |
| Choose installer, sign contract, submit BUS application | Week 3–4 |
| Ofgem processes application and issues voucher | Week 4–8 |
| Wait for installation date | Week 8–14 |
| Installation | 1–3 days |
| Completion, grant paid, you pay balance | 1–2 weeks after installation |
Total: roughly 8 to 16 weeks. Start by May or June if you want your heat pump before winter.
Tips for a Smooth Application
- Get your EPC early. If you need a new one or need to address insulation recommendations, do this before contacting installers.
- Choose an experienced installer. An installer who has done many BUS applications knows how to avoid common pitfalls.
- Respond quickly to requests. If your installer asks for documents or signatures, provide them promptly.
- Keep copies of everything. Retain copies of your quote, the consent form, and any correspondence.
- Do not pay the full amount upfront. A reasonable deposit is normal, but the bulk should be due after installation and grant confirmation.
Get started with your BUS grant application today
Get Free Installer QuotesMCS-certified installers who handle the entire BUS process for you.
Frequently Asked Questions
Do I need to apply for the BUS grant myself?
No. Your MCS-certified installer submits the application on your behalf through the Ofgem portal. Your role is to provide documents and sign the consent form.
How long does the BUS application take?
Ofgem typically processes applications within two to four weeks. The entire process from first enquiry to working heat pump takes 8 to 16 weeks.
What documents do I need?
A valid EPC, proof of property ownership, and a signed consent form. Your installer will tell you exactly what is needed.
What if I do not have a valid EPC?
You will need to get one done before the application can proceed. An EPC assessment costs £60 to £120 and is valid for 10 years.
Can my installer start work before the voucher is issued?
No. The installation must take place after Ofgem issues the voucher. Starting before approval means the grant will not be paid.
What happens if the voucher expires?
The voucher is valid for three months. If not completed in that period, your installer may need to request an extension or reapply.
Do I need to pay my installer a deposit?
Many installers ask for 10% to 20% when you sign the contract. Avoid paying more than this upfront.
What if my application is rejected?
Your installer will explain the reason and advise on next steps. Most rejections are due to EPC issues and can be resolved.
About the BUS Grant Application Process
The Boiler Upgrade Scheme application is managed through Ofgem's online portal, making it one of the most streamlined energy grants in the UK. MCS-certified installers submit applications on behalf of homeowners, and the £7,500 grant is paid directly to the installer. This process protects homeowners from financial risk and ensures quality standards are maintained. The BUS grant sits alongside other UK heat pump grants including ECO4 and Home Energy Scotland. Homeowners considering solar panels alongside a heat pump can apply for both grants separately.