Airtightness and Heat Pump Efficiency: Why It Matters
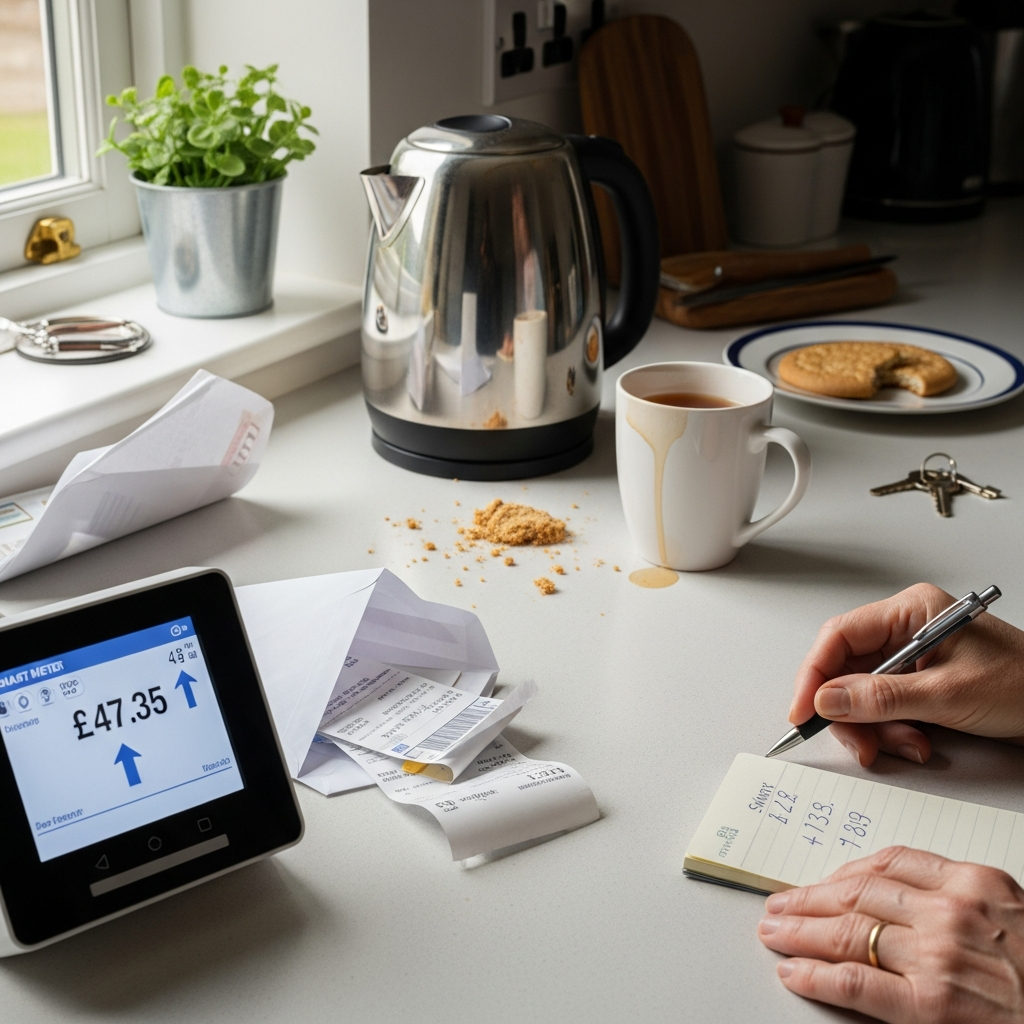
A draughty UK home can lose 30-40% of its heat through uncontrolled air leakage — heat your pump has to replace using expensive electricity. Reducing your home's air permeability from 15 ach@50Pa (typical older home) to 7 ach@50Pa (reasonable target) can cut heat demand by 1.5-2.5 kW and save £150-£300 per year. Airtightness is the often-overlooked third pillar of the fabric-first approach, alongside insulation and glazing.
Check your home's heat pump readiness
Free suitability checkerIncludes airtightness and draught assessment.
Why Airtightness Matters for Heat Pumps
Heat pumps deliver heat gently at low temperatures. Cold air pouring in through gaps forces higher flow temperatures, reducing COP from 3.5 to 2.8 — a 20% efficiency loss. Draught-proofing is the cheapest way to improve airtightness and the fastest-payback improvement for heat pump homes.
Airtightness Levels Explained
How to Improve Airtightness
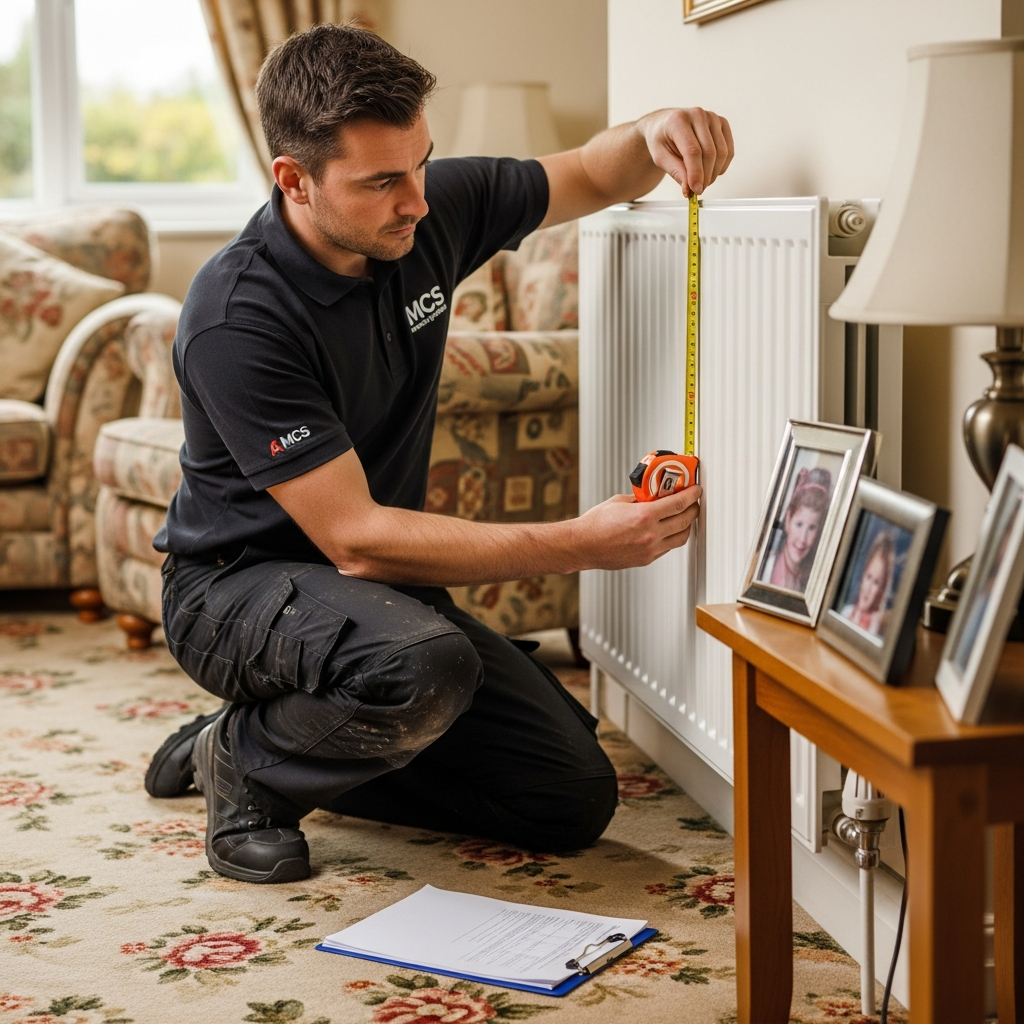
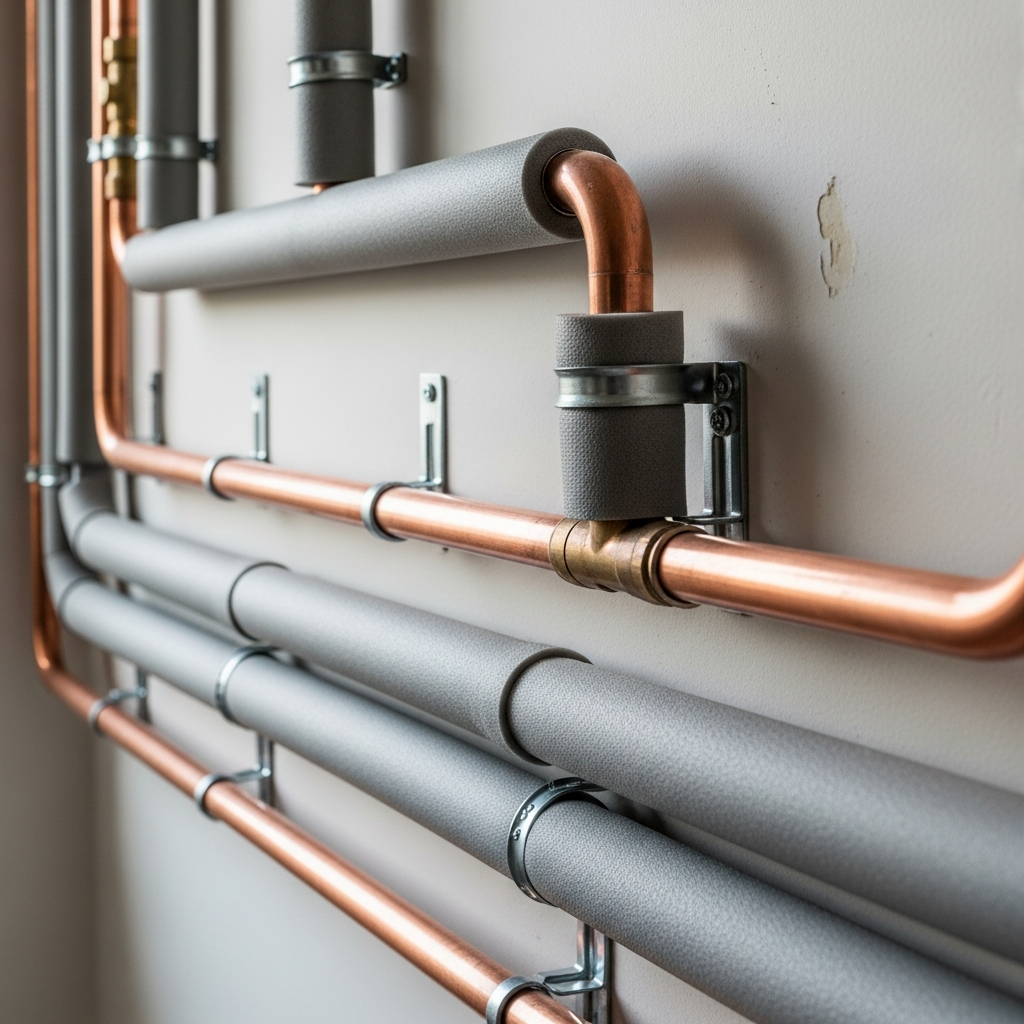
Focus on the same areas as draught-proofing: external doors and windows, floorboard gaps, loft hatches, chimney openings, pipe/cable penetrations. Total cost: £200-£500 DIY. Professional airtightness testing before and after shows exactly how much you have improved.
When You Need MVHR
Below 3-5 ach@50Pa, natural ventilation may be insufficient. Mechanical ventilation with heat recovery (MVHR) provides controlled fresh air while recovering 85-95% of outgoing heat. Cost: £3,000-£6,000 installed. MVHR is ideal for timber frame homes and deep retrofits. It also helps prevent condensation and damp by controlling humidity. Homeowners with very airtight homes who also have solar panels can run MVHR essentially for free during daylight hours.
Calculate your heat pump costs
Free calculatorSee how airtightness improvements affect system size and running costs.
Get expert airtightness advice
Request free MCS installer quotesExperienced installers will assess your home's airtightness during the survey.
Frequently Asked Questions
How does airtightness affect heat pumps?
Better airtightness reduces uncontrolled ventilation heat loss, allowing a smaller pump and lower costs.
What level should I aim for?
Below 7 ach@50Pa is good. Below 5 is very good. Below 3 may need MVHR.
Do I need MVHR?
Only if very airtight (below 3-5 ach@50Pa). MVHR recovers 85-95% of outgoing heat.
How do I improve airtightness?
Draught-proofing doors, windows, floors, loft hatches, and sealing pipe/cable penetrations. £200-£500 DIY.
Airtightness is a key factor in heat pump efficiency. Reducing air leakage through draught-proofing is the cheapest improvement. The Boiler Upgrade Scheme covers the heat pump. Very airtight homes may benefit from MVHR. Solar panels can power ventilation systems at zero running cost.