Ground Source Heat Pump and Underfloor Heating
Pair a ground source heat pump with underfloor heating and you unlock the highest possible efficiency from your system. The reason is simple: underfloor heating runs at 30-40 degrees C, which is the temperature range where heat pumps deliver their best COP. Push that up to 55 degrees C for conventional radiators and efficiency drops by 15-20%.
This guide explains why the combination works so well, what it costs, how it compares to radiators, and what to consider if you are planning this setup for your UK home.
How much would a ground source heat pump with underfloor heating cost?
Get Your Free EstimateInstant cost and running cost projections for your property.
Why Ground Source and Underfloor Heating Work Together
Heat pump efficiency is governed by the temperature lift -- the difference between the source temperature (ground, at ~10 degrees C) and the output temperature (water sent to your heating system). The smaller this lift, the less electricity the compressor uses, and the higher the COP.
Underfloor heating operates at 30-40 degrees C flow temperature. Standard radiators typically need 50-55 degrees C. That 15-20 degree difference has a dramatic impact on heat pump efficiency.
Beyond efficiency, underfloor heating provides even heat distribution across the entire floor surface, eliminates cold spots, frees wall space (no radiators), and is completely silent and invisible.

The Efficiency Boost in Numbers
For a 3-bedroom home using 12,000 kWh of heat per year:
| Emitter Type | Flow Temp | SCOP | Electricity Used | Annual Cost (25p/kWh) |
|---|---|---|---|---|
| Underfloor heating | 35 degrees C | 4.5 | 2,667 kWh | £667 |
| Oversized radiators | 45 degrees C | 3.8 | 3,158 kWh | £790 |
| Standard radiators | 55 degrees C | 3.2 | 3,750 kWh | £938 |
That is a saving of £270 per year by choosing underfloor heating over standard radiators -- £6,750 over a 25-year system lifespan. It is one of the most cost-effective upgrades you can make alongside your heat pump installation.
Costs of the Combination
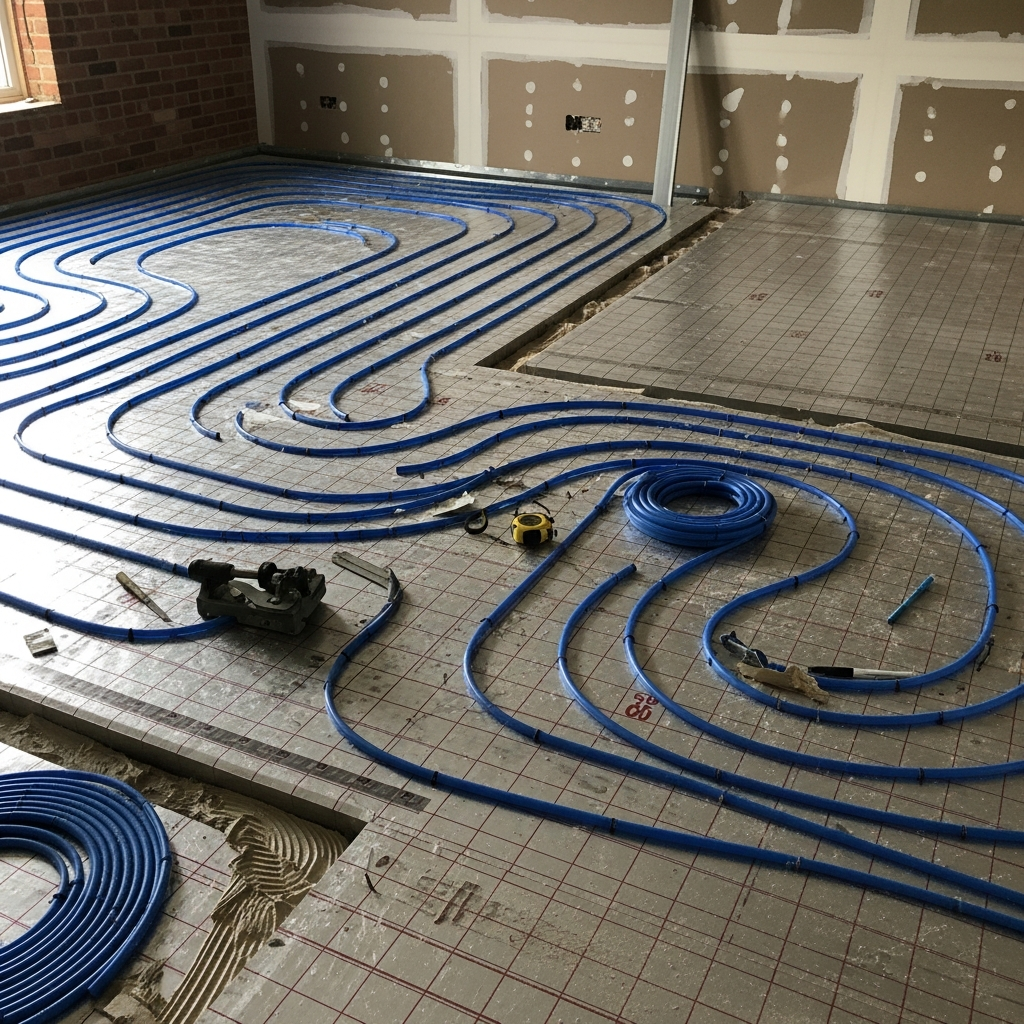
Wet underfloor heating installation: £40-£70 per square metre for screed systems in new builds or major renovations. For a 100 m2 ground floor, expect £4,000-£7,000.
Overlay UFH systems: £60-£90 per square metre for low-profile systems that retrofit over existing floors. More expensive per square metre but avoid the disruption of lifting floors.
These costs are on top of the ground source heat pump installation. However, the BUS grant of £7,500 offsets a significant portion of the overall project cost, and the running cost savings from higher efficiency help pay back the underfloor heating investment over time.
Compare heat pump quotes that include underfloor heating options
Get Free Installer QuotesMCS-certified installers who design complete GSHP + UFH systems.
Underfloor Heating vs Radiators with a Heat Pump
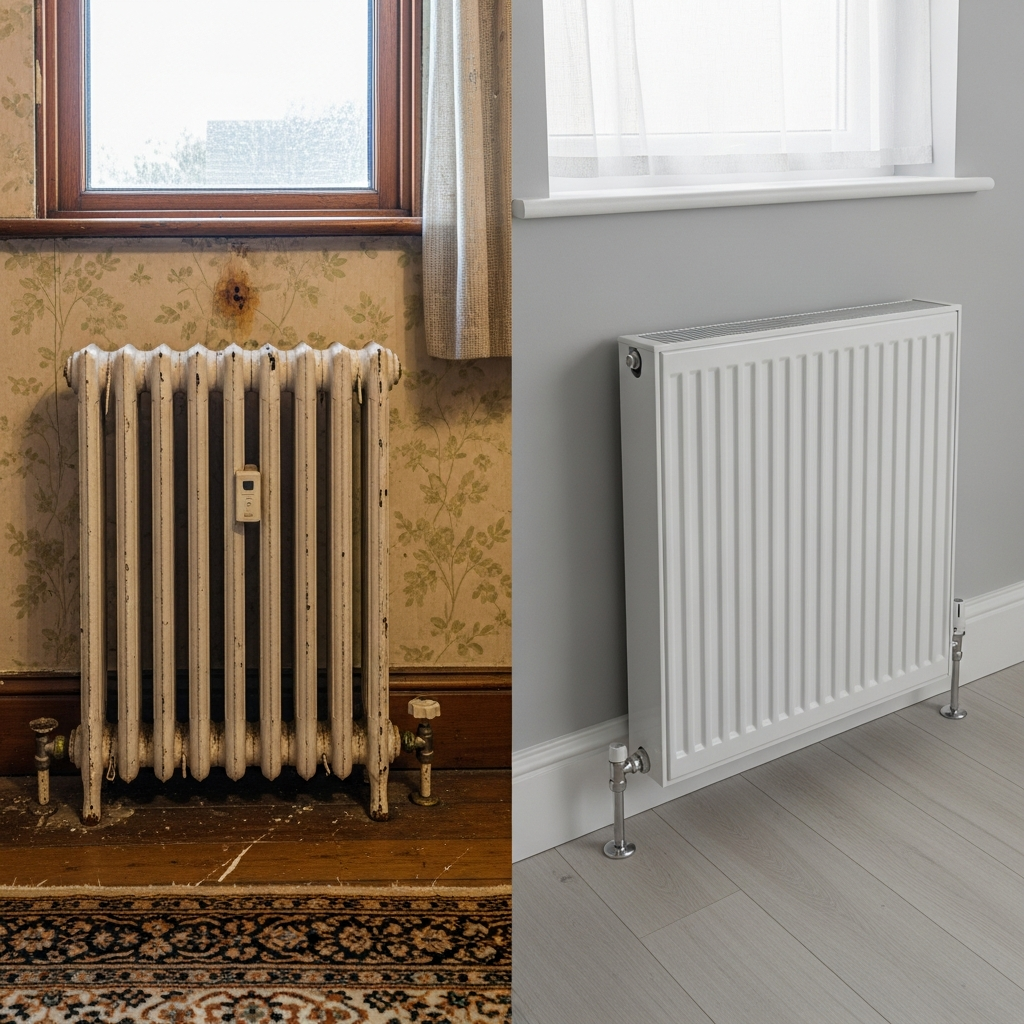
You do not need underfloor heating for a ground source heat pump to work. If your home already has radiators, the key question is whether they are large enough to deliver adequate heat at a lower flow temperature.
Oversized radiators (roughly double the output of standard radiators) can operate at 45 degrees C and deliver a COP of 3.5-4.0 -- still excellent. This is often the more practical and affordable route for existing homes where lifting floors for underfloor heating would be too disruptive.
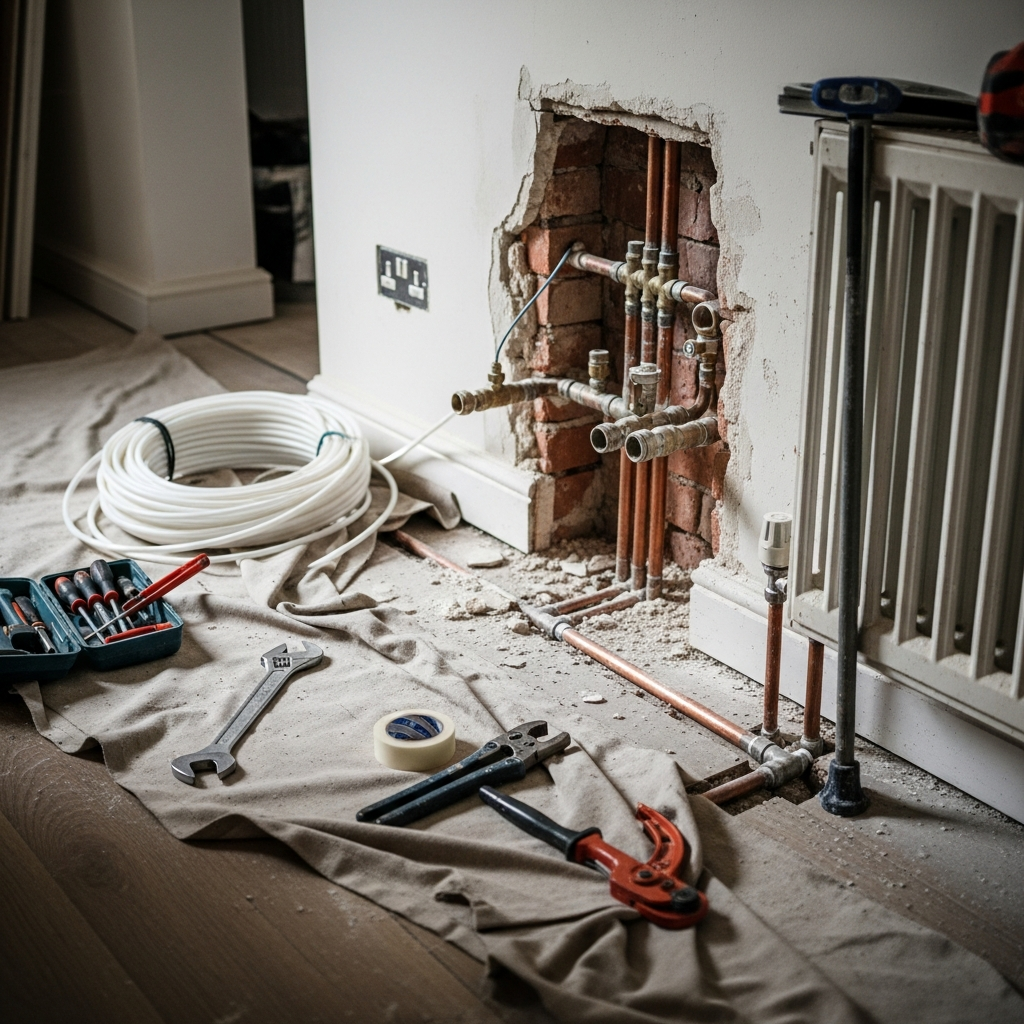
Mixed Systems: UFH Downstairs, Radiators Upstairs
A very common and practical arrangement is underfloor heating on the ground floor (where you spend most of your day) and radiators upstairs (where heat demand is lower and rooms are typically above heated spaces anyway). The heat pump manages both circuits through a mixing valve, sending lower temperature water to the UFH and slightly higher temperature water to the upstairs radiators.
Retrofit vs New Build
New build: This is the ideal scenario. Underfloor heating is designed into the floor structure from the start. The cost premium over radiators is relatively small (£3,000-£5,000 for a typical house) and the efficiency benefit is guaranteed.
Major renovation: If you are already lifting floors, re-screding, or gutting a property, adding underfloor heating at the same time is highly cost-effective.
Retrofit into existing home: More expensive and disruptive. Low-profile overlay systems can work without removing existing floors, but they add height (15-25mm) and cost more. For many existing homes, oversized radiators are the pragmatic choice.
Homeowners undertaking a major renovation who add both a ground source heat pump and solar panels to the project create the most efficient and lowest-cost whole-house heating solution available in the UK.
Plan your ground source heat pump and underfloor heating project
Get Free Quotes NowExperienced GSHP installers who design complete heating systems. No obligation.
Frequently Asked Questions
Why is underfloor heating ideal for ground source heat pumps?
Underfloor heating operates at 30-40 degrees C flow temperature, where heat pumps achieve their best COP (4.5-5.0). Radiators at 50-55 degrees C reduce COP to 3.0-3.5, using 15-20% more electricity.
How much does underfloor heating cost with a ground source heat pump?
Wet UFH typically costs £40-£70 per square metre for new builds. For a 100 m2 ground floor, expect £4,000-£7,000 on top of the heat pump installation cost.
Can I use radiators with a ground source heat pump instead?
Yes. Ground source heat pumps work perfectly with radiators, particularly oversized ones that deliver heat at 45-50 degrees C. You do not need underfloor heating for the system to work well.
Can I have underfloor heating downstairs and radiators upstairs?
Yes, this is a very common and practical arrangement. The heat pump manages both circuits through a mixing valve.
Underfloor Heating and Renewable Energy Systems
Underfloor heating is a key component of high-efficiency renewable heating design. It connects to heat pump installation planning, emitter sizing and selection, and the broader whole-house approach to decarbonisation. Homes that combine low-temperature heating, ground source heat pumps, and solar electricity generation achieve the lowest running costs and carbon footprint achievable in UK housing.